Elegant Themes caused a stir in 2014. They strolled into the year off the back of the launch of Divi, which is now regarded as one of the best WordPress themes in the market. Later in the year they expanded their range of plugins by releasing the stylish social media sharing WordPress plugin Monarch.
You will be pleased to hear that 2015 looks like it will be a success for them too as another great plugin has just been released by Elegant Themes. Bloom is email opt-in WordPress plugin that will help you increase your email subscription rates.
Elegant Themes kindly sent me a beta version of the plugin in preparation of its release today. I spent an hour or so with Bloom in order to give you all an insight into what this email marketing solution can do for you. Enjoy :)
Growing Your Email List with Bloom
Bloom shares the same stylish design and feel as Elegant Theme’s social sharing plugin Monarch. There are four sections: Optin Forms, Email Accounts, Statistics, and Import and Export.
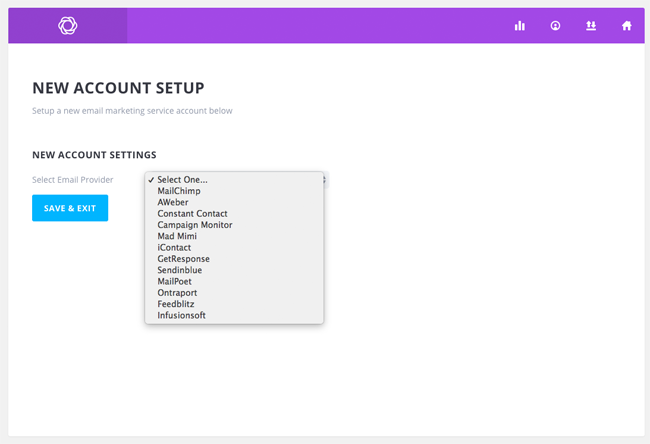
Twelve major email marketing are supported: MailChimp, Aweber, Constant Contact, Campaign Monitor, Mad Mimi, iContact, GetResponse, Sendinblue, MailPoet, Ontraport, Feedblitz, and Infusionsoft.
I was pleased to see so many major email marketing services supported, however I would love to see future versions support WordPress email capture plugins such as WP Email Capture.
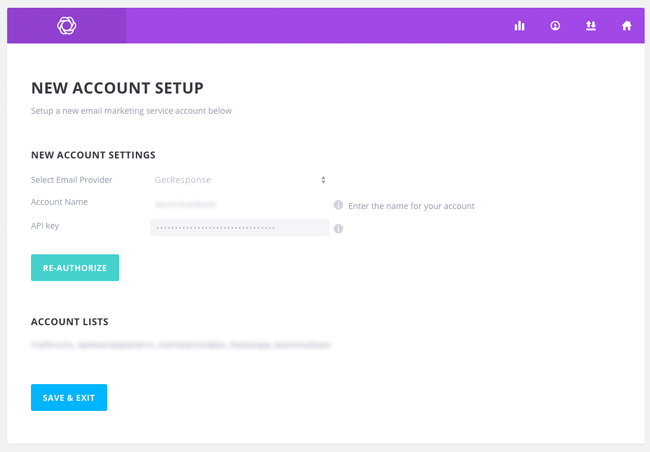
In the next step, you need to authorise your email marketing service. The exact requirements for this step are different for each service. With GetResponse, for example, I had to enter my account name and unique API.
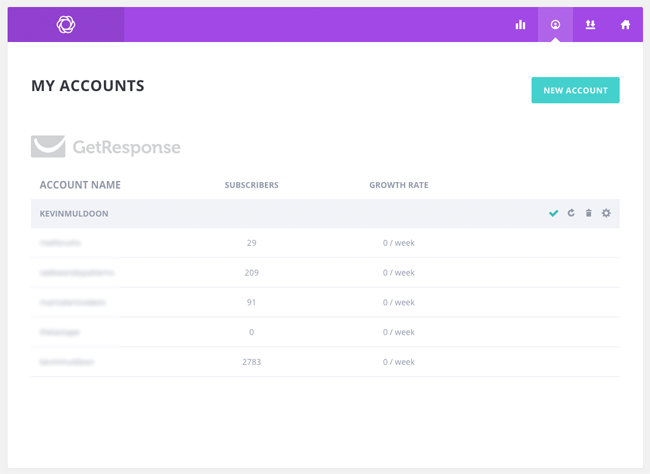
The My Accounts page shows you all the different email lists that you have with your email marketing service. The current number of subscribers and weekly subscriber growth rate are also displayed.
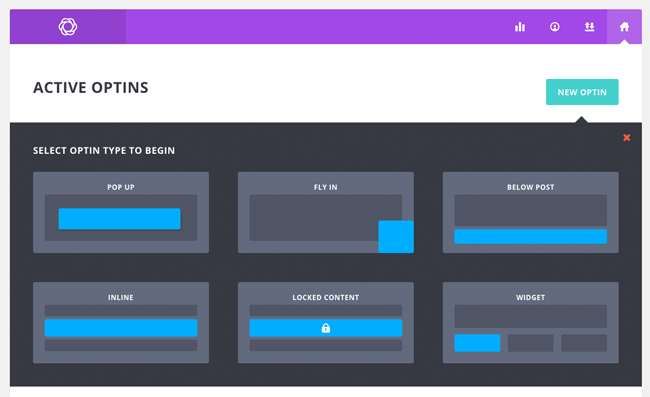
Bloom offers you a variety of ways to increase sign ups to your email list. In total there are six opt-in forms available.
This includes a pop up form, a fly in box that appears at the bottom corner of your pages, below your blog posts, inside your content area (inline), locked content, and through a widget.
The option of locking content with Bloom was a big surprise to me and one that was much welcomed. This will allow me to hide premium content on my website until someone has subscribed to my email list.
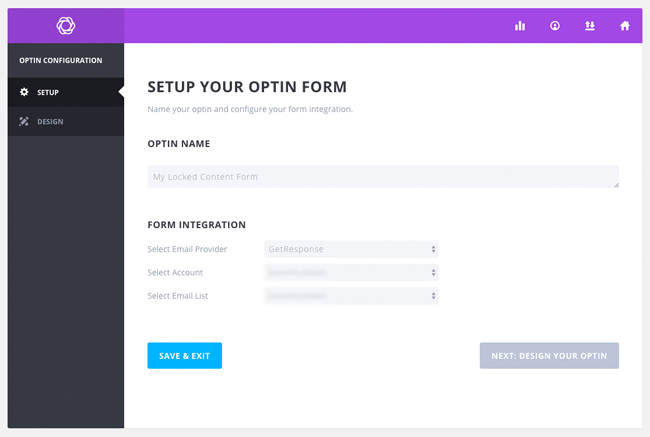
Once you have chosen your opt-in form type, you have an opportunity to name your new form. Form integration settings are displayed here too.
Don’t worry. You do not have to configure your email provider settings again. Elegant Themes have configured Bloom so that you can add as many accounts from email providers as you wish. For example, you could use Aweber to power your landing page forms and MailChimp to power your sidebar widget forms. All you have to do is select the email provider you want to use and the desired account and email list.
The usefulness of an email opt-in WordPress plugin is sometimes defined by how professional its forms look. And it should be defined by this as if Bloom’s forms looked terrible, you would just use the forms that were provided by your email marketing provider (which are usually terrible).
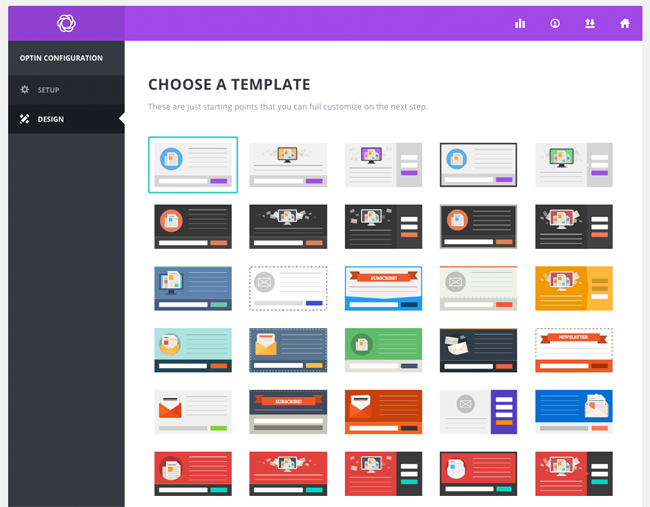
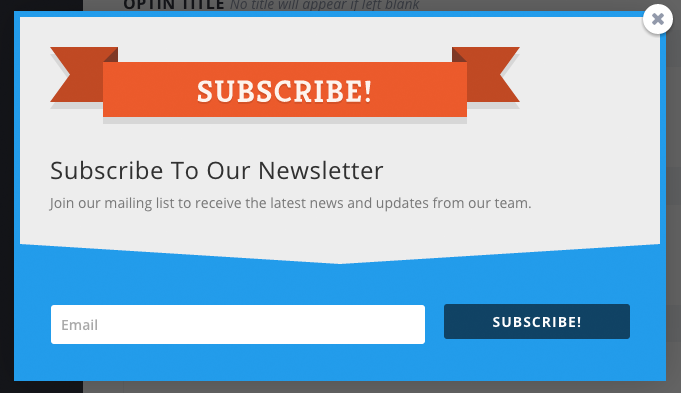
Thankfully, form design is an area where Bloom excels. The current version of Bloom offers a whopping 115 form templates. These come in a wide range of colours and layouts.
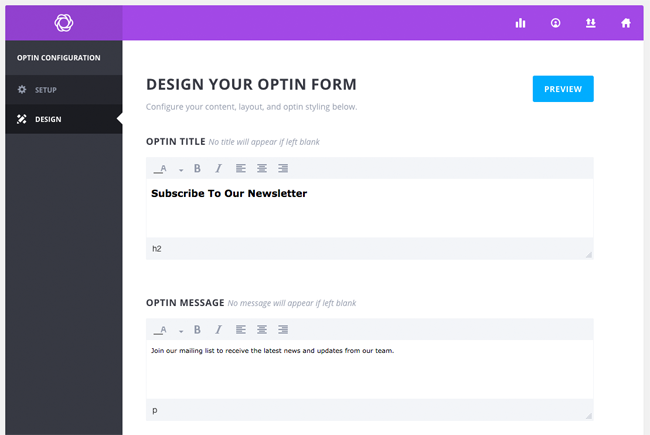
The title and content of your form can be edited using a visual editor. Unfortunately, Bloom does not use the default WordPress visual editor, therefore customisation of your forms is somewhat limited when compared to alternative email solutions.
The WordPress visual editor allows you to easily insert images, videos, styling, shortcodes, and more. However, Bloom limits you to text colour, bold and italic, and alignment.
Obviously, this is not a deal breaker, however I would love to see Elegant Themes integrate the WordPress visual editor to a future version of Bloom. You can, of course, still embed video and other media using HTML, and one form image can be inserted manually (as you will see next).
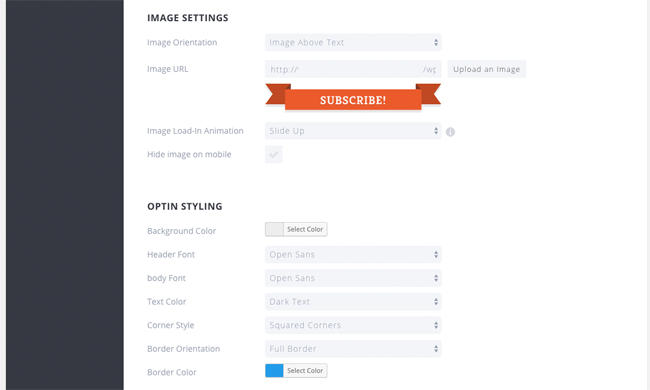
Some Bloom forms contain an image, however you can upload your own custom image if you desire. The image can be displayed above or below text or to the left or right of text. There is a selection of ten animations that can used to display the image and you can also disable the image for mobile devices.
The background colour, font type, font colour, border, and corner style, can all be modified too.
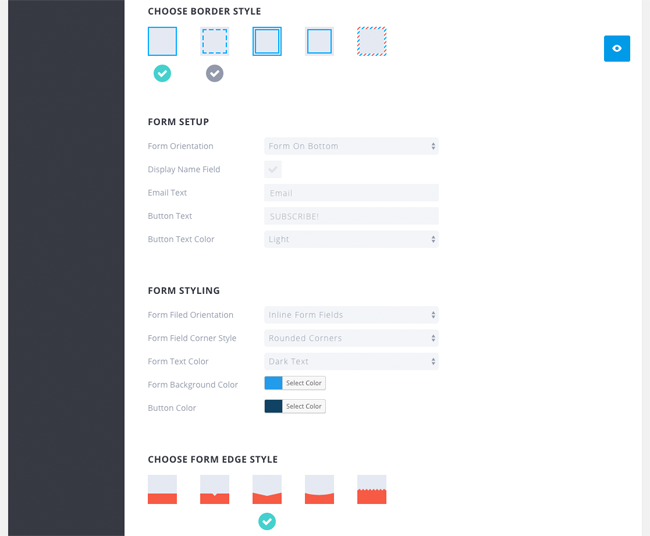
Five border styles and five form edging styles are available. The sign up form can be displayed underneath your sales pitch or to the right or left of it. You can also customise form fields and the text and background colours of your form.
Text can be added to the bottom of your forms. You can also add a customised message that is displayed when someone signs up to your email list. Custom CSS styling can be added too.
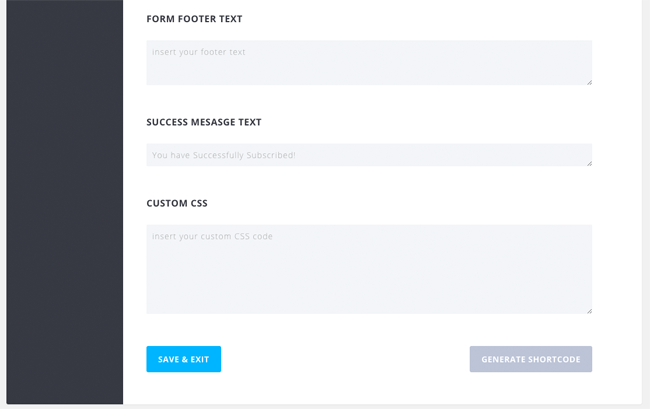
A preview button is displayed at all times to help you see what the final version will look like.
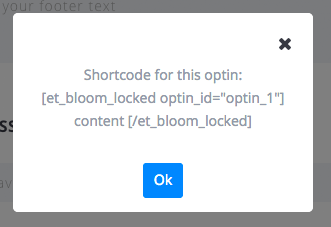
Since the form I used for these screenshots was for locked content, I was given a shortcode at the end to display in a post or page. All I would need to do is wrap the premium content I want to hide inside the shortcode that was provided.
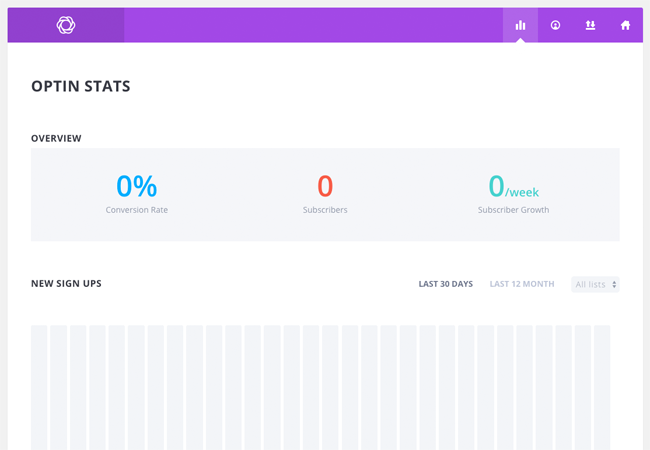
I tried out Bloom in a test environment and have yet to use it on a live website (since the version I was sent was still in beta). Due to this, I was not able to track stats on growth, however I was able to see that the statistics page shows stats such as conversion rate, subscribers, and subscriber growth. New sign ups can also be seen for each email list over 30 days or 12 months.
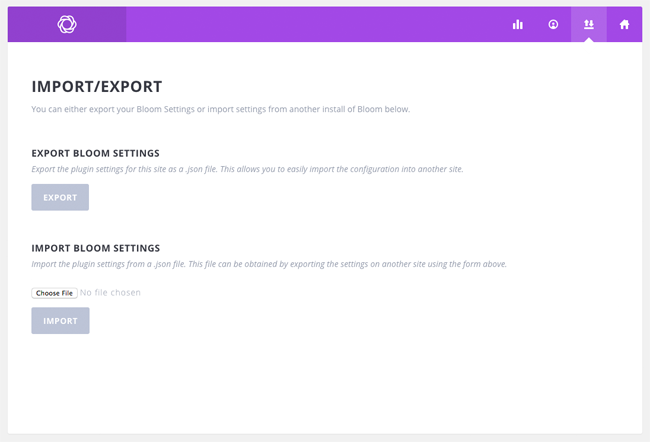
Bloom plugin settings can be exported in the .json file format and imported into another website.
That’s all you have to do to add Bloom on your website and configure it correctly.
Final Thoughts
It looks like Elegant Themes have another hit on their hands. Bloom offers many ways to promote your newsletter and has many customisation options. I spent a couple of hours testing the plugin and found that it was straight forward to use and quick to integrate into a website.
Elegant Themes have shown with Monarch and Divi that they want to improve their products by listening to customer suggestions. I am keen to see what direction they take Bloom over the next six months.

If you are an existing Elegant Themes member, I recommend giving it a try. Those of you who are not a member of Elegant Themes should check them out as their plugin and theme package retails at only $89 and grants you access to close to 100 premium WordPress products.
Check out Elegant Theme’s gallery page to see more pictures of Bloom in action.
Thanks for reading.
Kevin