Final Tiles Grid Gallery is one of the most popular WordPress plugins on CodeCanyon. In less than two years it has racked up more than two thousand sales, which is impressive stats for a gallery plugin.
Developed by GreenTreeLabs, Final Tiles Grid Gallery is a jQuery powered WordPress plugin that can create beautiful responsive galleries and portfolios that look great on any device; be it a smartphone, tablet, laptop, or desktop computer.

Final Tiles Grid Gallery has a lot of great features. As the name suggests, the plugin can be used to create stylish grid galleries. Most WordPress gallery plugins use fixed columns and rows to display images, however Final Tiles Grid Gallery allows you to mix up the size of images that are displayed. This allows for a more fluid and more natural style of gallery.
Unlike some other gallery solutions, Final Tiles Grid Gallery also supports videos. This makes the plugin even more versatile and makes it attractive to filmmakers and other video enthusiasts.
Diego from GreenTreeLabs kindly sent me over a copy of Final Tiles Grid Gallery so that I could look at what it can do. I hope you enjoy the review.
Adding a New Gallery
Once you have activated Final Tiles Grid Gallery, you will see a new menu in your admin sidebar. There are only four options.
“Final Tiles Gallery” lists all the galleries you have created and “Add Gallery” does exactly what the name suggests.
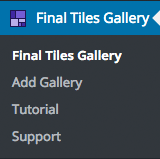
The tutorial section links to an online PDF book that explains everything about the book. The book is 52 pages long and walks you through how to use the plugin step-by-step. If you are unsure about any aspect of using the plugin, I recommend referring to this document.
The support link contains a link to the GreenTreeLabs support system which contains articles on all of GreenTreeLabs’ plugins. You can create a ticket in this area if you cannot find a solution to your problem.
Let’s now take a closer look at how to add a gallery in Final Tiles Grid Gallery.
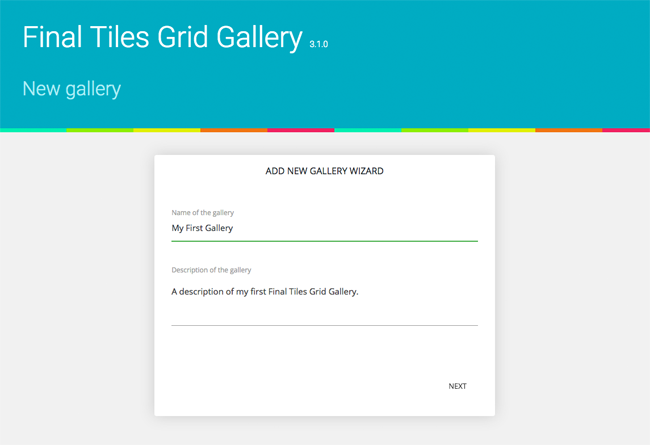
The process of setting up a new gallery is incredibly easy. All you have to do is enter a few details through the “Add New Gallery Wizard”.
The first step is to name your gallery. A description can be added too if you want to remind yourself exactly what the gallery is for, though it is not required.
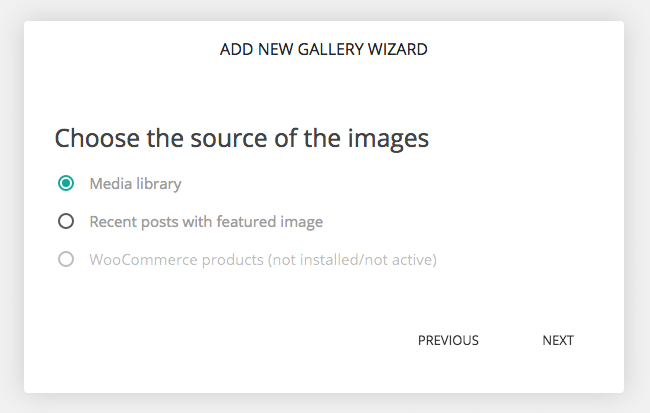
Images can be sourced from your media library or your recent blog posts. If you have the eCommerce plugin WooCommerce activated, you can also import product images into your gallery.
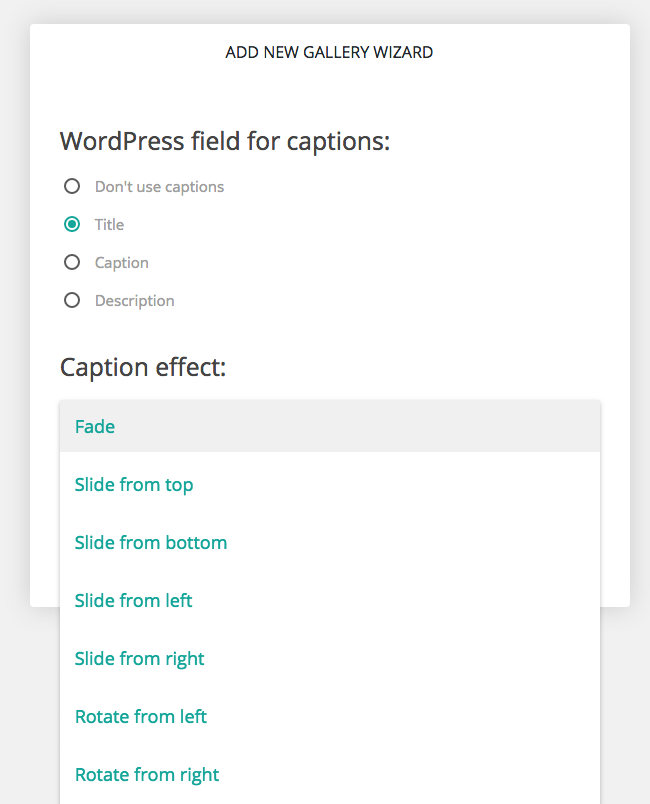
For your image captions, you can choose from the WordPress title field, caption field, or description field. Alternatively, you can disable captions altogether.
Several caption effects are available, such as fade, slide, and rotate.
In the next step you can define the size of your image thumbnails. I had initially assumed that the thumbnail sizes on offer were specific to the plugin, however the thumbnail sizes actually match the ones you use with your current WordPress theme i.e. the ones defined in your themes functions.php file.
You can add images to your gallery at this point too. For example, you could select previously uploaded images and/or upload new images and videos.
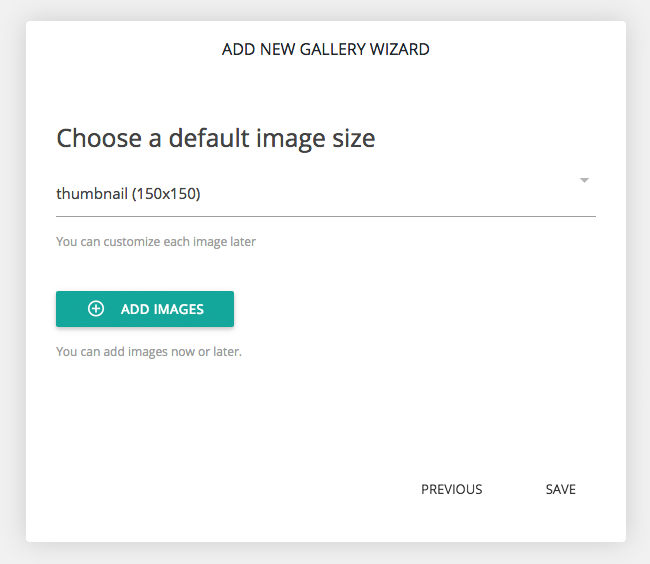
In the final step you are provided with a shortcode. This can be added to any blog post or page on your website. You could also add it to a widget.
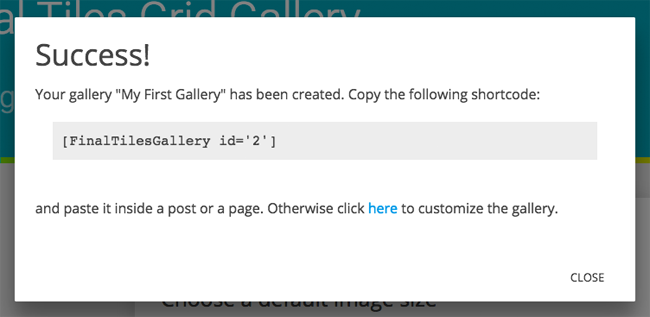
Once your gallery has been created, you can then move on and configure the gallery.
Configuring Your Gallery
There are a lot of options in the customisation area. Thankfully, you do not need to adjust any settings if you do not want to as the default settings look great. Though I still recommend going through the settings at least once so that you have an understanding of what the plugin can do.
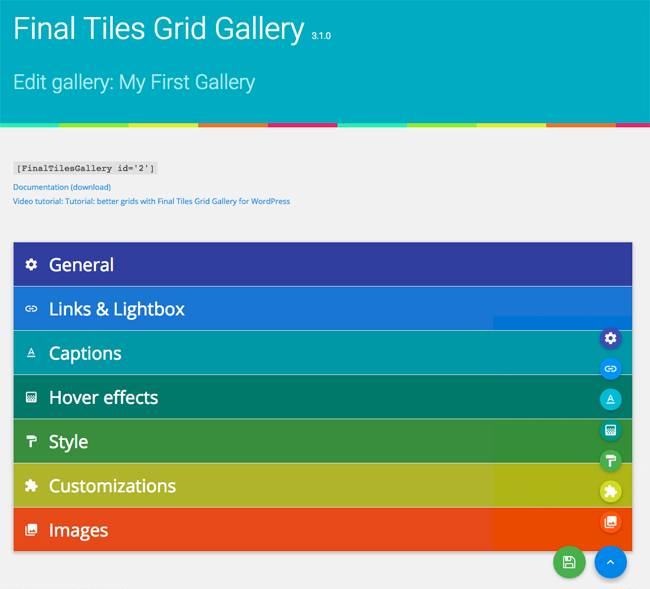
As you can see, the main gallery configuration page is a colourful affair. Configuration settings are divided into seven categories: General, Links and Lightbox, Captions, Hover Effects, Style, Customizations, Images.
At the bottom right-hand side of the menu is a save button and a stylish set of icons that link to each category. These buttons are visible at all times so that you can easily save the changes you make and jump to another category.
At the top of the page is a link to the plugin documentation file and a short tutorial video.
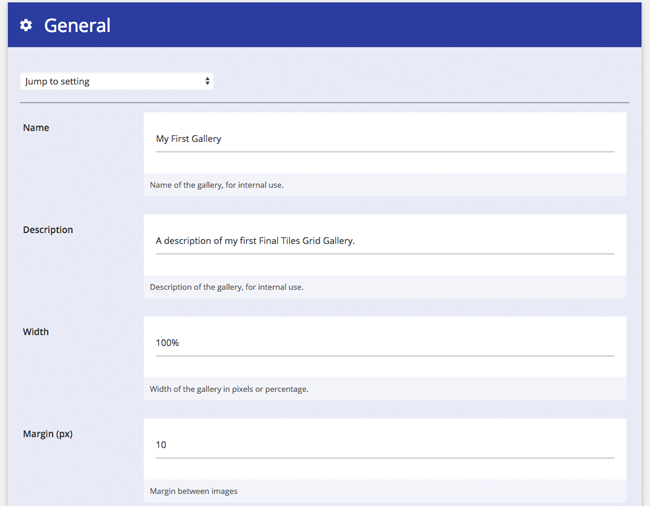
The general category contains a lot of settings. You can modify your gallery name and description at any time. You can also define the width of your gallery in pixels or percentage and define the margin in pixels between images.
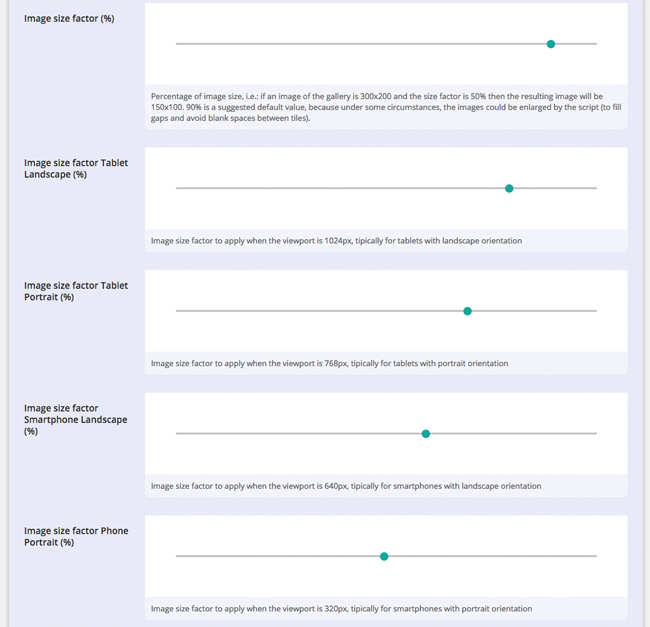
In the next section you can define the image size factor for a range of devices. The image size factor allows you to specify how much images will be reduced.
The default settings are 90% for desktops and laptops, 80% for tablets in landscape mode (e.g. horizontally), 70% for tablets in portrait mode (e.g. vertically), 60% for smartphones in landscape mode, and 50% for smartphones in portrait mode.
If you find that the images in your gallery are too small or too large, I recommend changing these settings until you find a size that fits well.
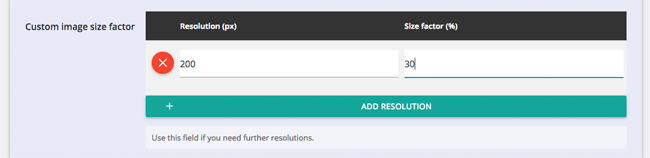
If you find that your gallery does not look good in a particular device, you can add a custom image size factor. All you have to do is specify the resolution and size percentage.
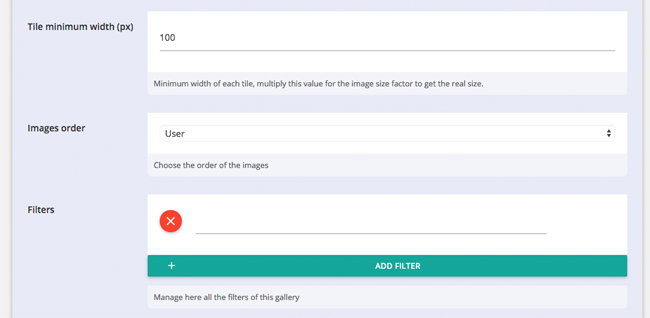
The minimum width of gallery tiles can be set and you can arrange images by user, in reverse order, or randomly. Filters can also be added.
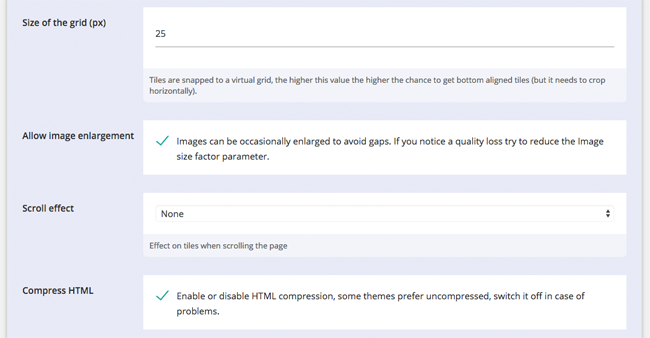
The size of the grid can be defined and there is a setting to allow image enlargement so that all the images in the gallery align properly.
A number of scroll effects are also on offer: Sliding tiles, zoom, left rotation, and right rotation. There is an option to disable HTML compression too.
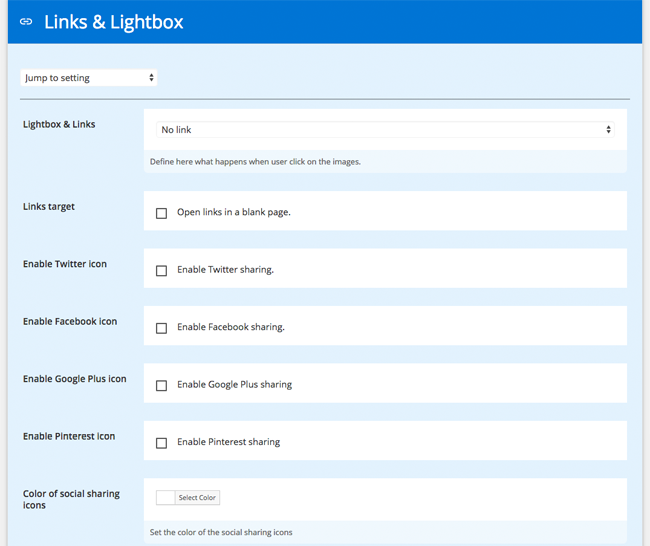
In the Lightbox & Links setting option you can choose whether there is a direct link to an image or not. One of six lightboxes can also be selected: Magnific popup, ColorBox, PrettyPhoto, FancyBox, SwipeBox, and LightBox.
Links can be opened in a new page/tab and there are social media sharing buttons for Twitter, Facebook, Google+, and Pinterest. The colour of these sharing buttons can be changed too, though one colour is used for all sharing buttons i.e. you cannot change the colour of each icon individually.
The number of customisation options for image captions is astounding. Most other gallery WordPress plugins give you one or two options at most, however Final Tiles Grid Gallery has over a dozen.
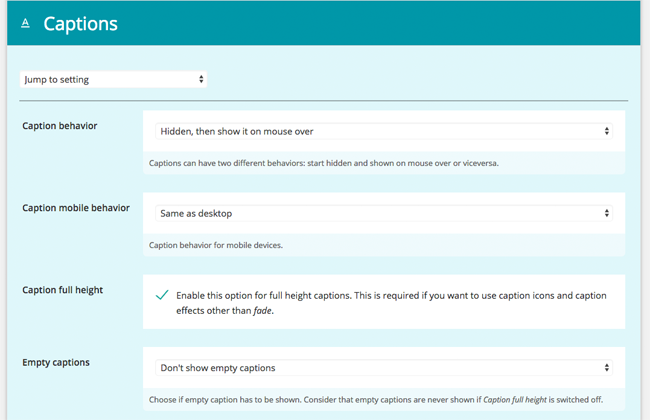
You can change the behaviour of captions so that they are hidden but shown on mouse overs, visible but hidden on mouse overs, or visible at all times. The behaviour of captions on mobile devices can mimic your desktop settings or you can make them different. Alternatively, you can disable captions for mobile users.
There are also options to display captions in full height and whether empty captions are displayed.
Thirteen caption icons are available, including a link, a heart, and a camera. If you prefer, you can define your own custom icon. The size and colour of caption icons can be modified too.

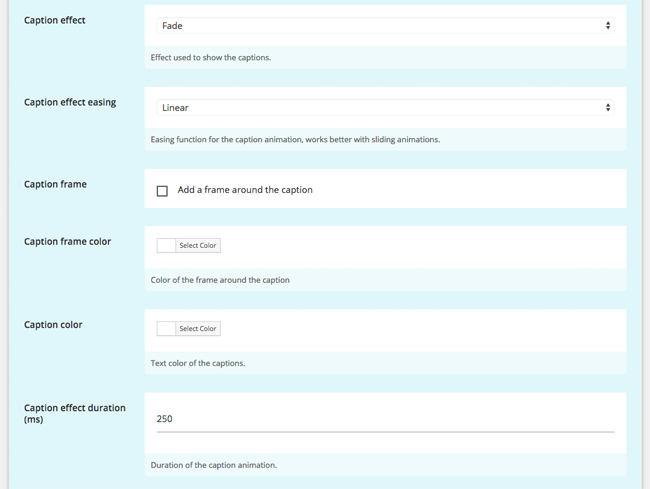
As you saw during the gallery wizard process, there are a number of caption effects. The easing function for the caption effect can be changed as well. You can select Ease, Linear, Ease In, Ease Out, or Ease In or Out.
A frame can be placed around your images and the colour of this frame can be defined. You can also change the colour of the text in captions and set the duration of the caption effect.
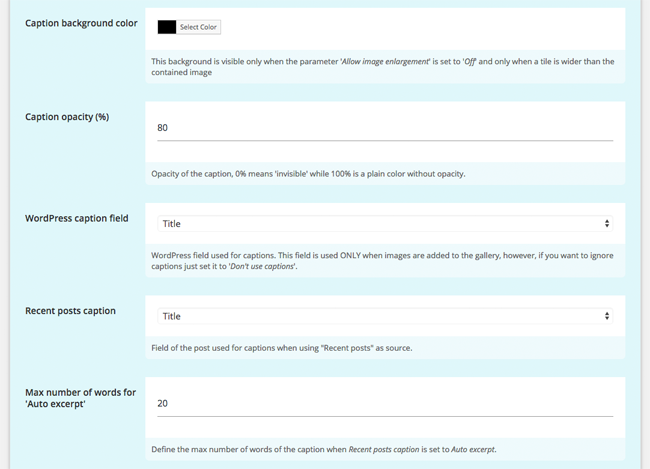
In the final section of the Captions settings you can change the background colour of captions, set the opacity of captions, and select the WordPress caption field (this is the same setting you defined during the gallery setup wizard).
If recent posts are used as an image source, you can select the post title, excerpt, or auto excerpt, for captions. The maximum number of words for the automatically generated excerpt can be set.
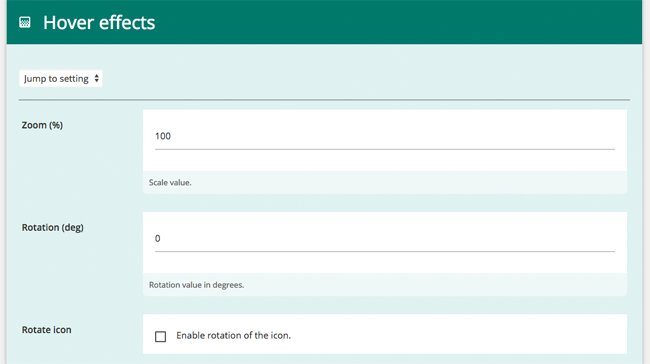
Zoom can be applied to hover effects. Rotation can also be applied to give a twisting effect when someone hovers over an image.
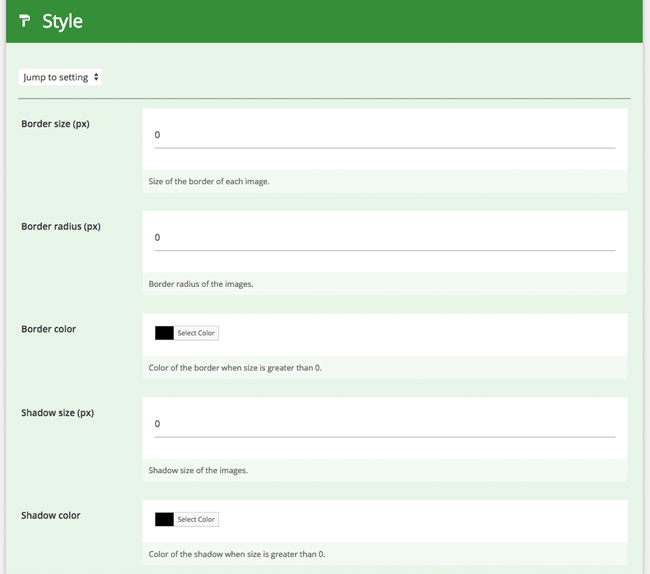
In the Style category you can define the size of the border, border radius, and border colour. A shadow can also be added and, as you would expect, you can change the colour of this shadow.
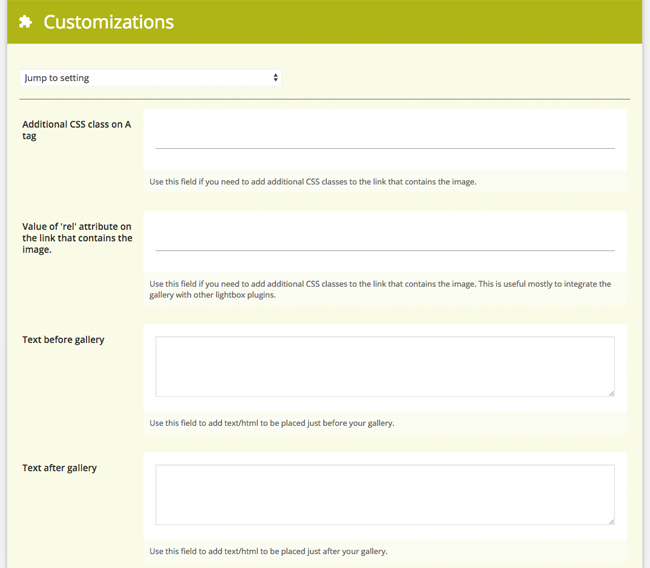
A number of additional styling options can be found in the Customizations section.
Additional CSS classes can be attached to the link that contains the image and you can set the REL attribute. For example, you could nofolow a link (e.g. rel=”nofollow”).
Text and HTML can be added before and after galleries as well.
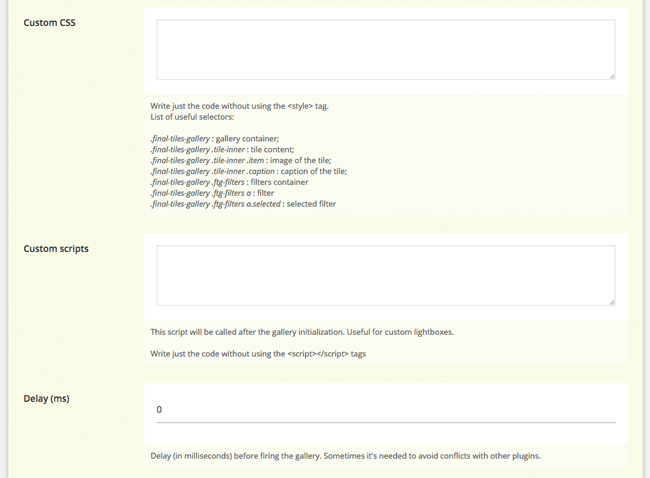
Custom CSS and custom scripts can also be applied to galleries. A list of CSS selectors are displayed to help you get started.
If the plugin is conflicting with another plugin, you can delay the loading of the gallery.
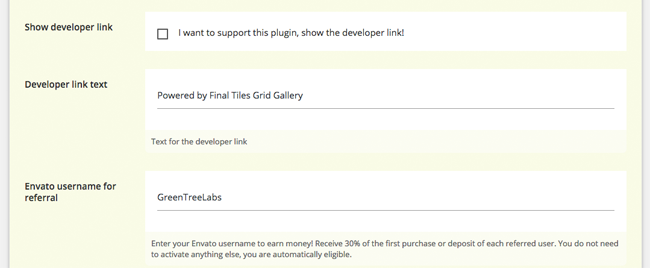
GreenTreeLabs have also included an option for displaying a link to their plugin on CodeCanyon. The great thing about this is that you can add your own Envato username and earn money for any successful referrals you make.
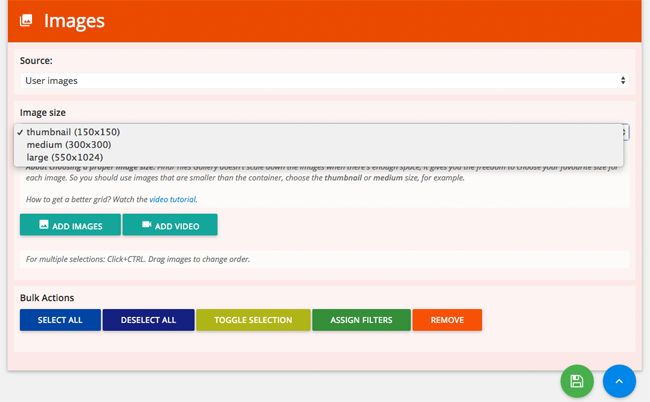
The Images category is the last set of options. From here you change the thumbnail size you defined during the gallery wizard (which are pulled from your theme’s functions.php file). You can also upload new images and videos to your gallery.
Bulk options can be found at the bottom of the page too, such as selecting and deselecting all settings.
As you have seen, Final Tiles Grid Gallery offers a huge amount of customisation options, but do not let these options overwhelm you. I was more than happy with the default settings that the plugin uses and I suspect many of you would be too.
The one thing that I do feel is missing is a global settings option. The plugin allows you to customise each gallery in its own unique way. I appreciate this feature as it allows me to customise different galleries for different areas of my website, however I would really love to see a global options option that could be used as a template for all galleries.
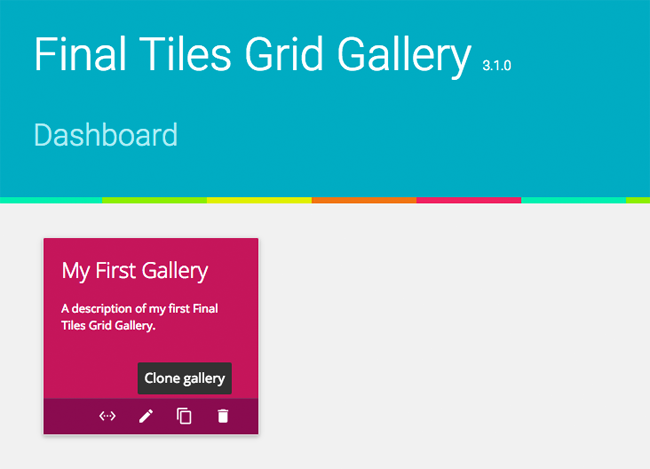
This option is actually available…well, kind of. In the Final Tiles Gallery page that lists all galleries you have an option to clone galleries you have already created. This lets you duplicate the settings from other galleries you have created. It’s a useful feature for adding new galleries as it will save you a lot of time configuring options in your new gallery.
I would, however, still like a global settings option or templating system. While the cloning option is great for setting up new galleries quickly, it does not help with modifying existing galleries. Consider, for example, a website that has fifty galleries. These galleries could be created quickly using cloning, but if I decided to apply a new CSS class to all galleries, I would have to manually add this new CSS class to all fifty galleries.
Of course, I would not say that the lack of a global settings option is a flaw as many gallery WordPress plugins lack this option. Though I do feel that users of Final Tiles Grid Gallery who upload dozens of galleries would find the option of making bulk customisations very useful :)
Examples Galleries
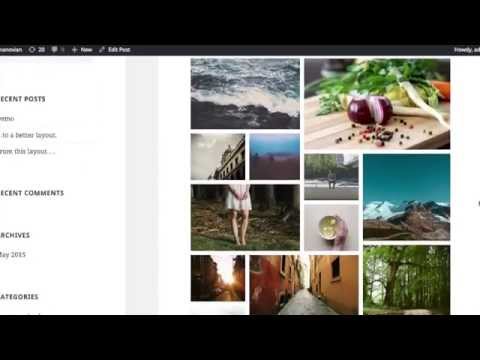
There are lots of examples of what Final Tiles Grid Gallery can do on the official demonstration page.
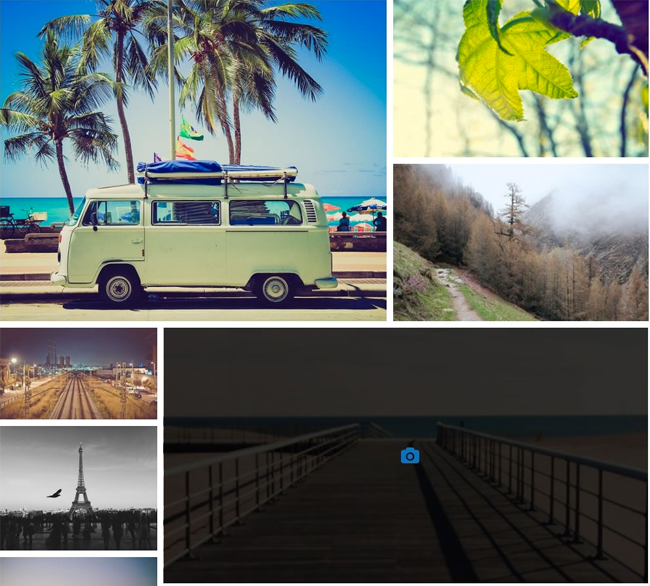
I have used other WordPress gallery plugins that also support video uploads, however many of them force you to keep image and video uploads in separate galleries. In contrast, Final Tiles Grid Gallery lets you mix video and image uploads.
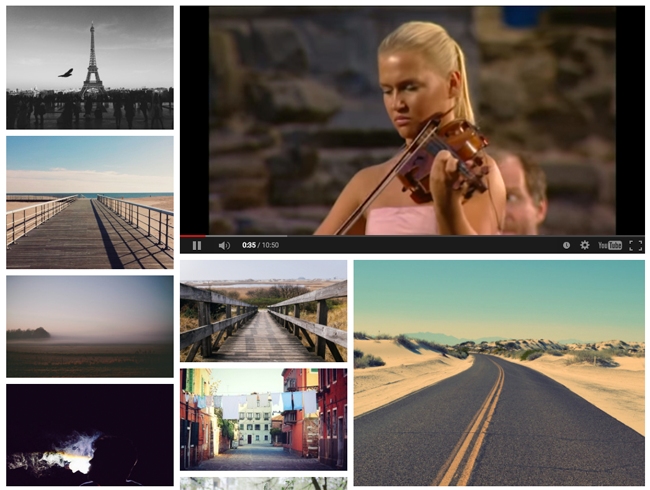
Sharing icons are discrete and stylish. I love the way they just blend into the bottom of images.

Captions can be discrete too. In the example below, captions are displayed at the bottom of an image when you hover over it.

Galleries look fantastic on smartphones and tablets; something that is very important today due to the rise of mobile use.

Beauty is in the eye of the beholder, but I personally love the minimum styling that Final Tiles Grid Gallery has out of the box. The ability to add custom CSS means that developers could change the output of galleries very easily if they do not like the default look and style.
Final Thoughts
Final Tiles Grid Gallery is available from CodeCanyon for a one off fee of $18. This will grant you access to unlimited support and updates i.e. no yearly fees.
To quickly recap, Final Tiles Grid Gallery boasts responsive grid designs, CSS3 animations, support for video, support for retina and other high-density screens, scroll effects, loads of caption options, social media sharing, filters, custom links, custom styling, and infinite scrolling.
The plugin would be a great solution for photographers, artists, filmmakers, and bloggers. At only $18, it is certainly one of the cheapest premium gallery solutions available to WordPress users, which is no doubt why part of the reason it has become so popular.
If Final Tiles Grid Gallery does not peak your interest, I recommend checking out my review of Circles Gallery; another plugin developed by GreenTreeLabs.
Should you have any questions regarding the plugin, please leave a comment below and I will do my best to help answer it :)
Thanks,
Kevin