Formed in 2001, MailChimp is a hugely popular email marketing platform with over 14 million customers.
The service is particularly popular with bloggers. It is easy to understand why as MailChimp is free to use until you have gained a readership. They permit up to 2,000 subscribers and 12,000 emails per month before you need to upgrade to a premium plan.
Another reason it is popular is because of the support for the platform in WordPress. There are thousands of WordPress plugins that support MailChimp to help you integrate email acquisition and delivery into your website.
One such solution is MailChimp Forms WD from Web Dorado. MailChimp Forms WD is a MailChimp WordPress plugin that allows you to display email forms on your WordPress website, manage your lists, and export lists in CSV format.
Let’s take a closer look at how it works.
Setting Up MailChimp Forms WD
MailChimp Forms WD can be downloaded free from WordPress.org. Alternatively, you can download it directly from your WordPress admin area by searching for “MailChimp Forms WD” via the plugin installation page.
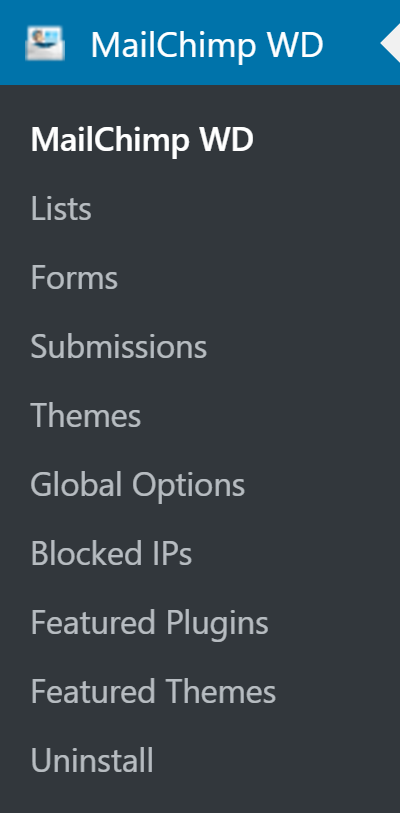
When the plugin has been activated you will see the MailChimp Forms WD menu in your admin area. Ten menu items are listed.
The featured plugins and featured themes plugins pages display links to other Web Dorado products.
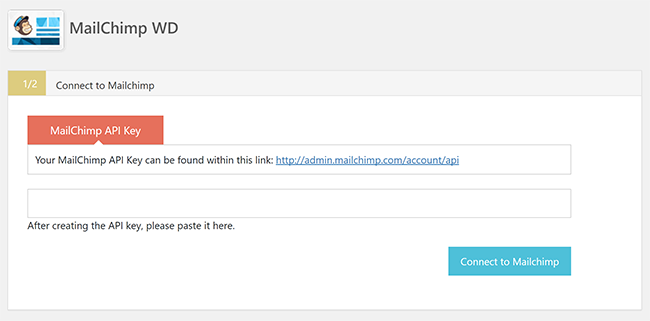
When you click on the MailChimp Forms WD menu you are first asked to connect to MailChimp.
Click on the link provided in order to go to the API page on MailChimp. Simply copy the API code on that page and paste it into the API field on your website.
On the next page you can select the list you want to integrate with your website.
I am unsure as to why this particular step is here because the plugin will retrieve all of your lists anyway.
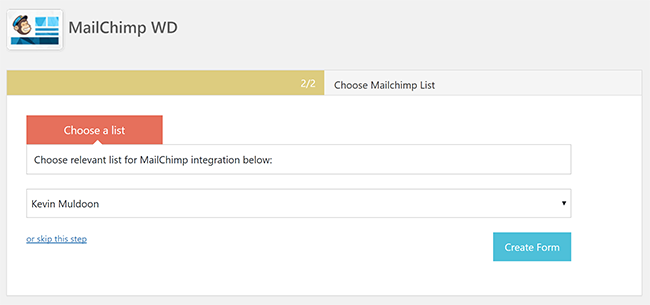
Once you have completed this section your website will be connected directly to your MailChimp account.
How to Use MailChimp Forms WD
When you have connected your MailChimp account to your website the main MailChimp Forms WD page becomes a general overview page about your email lists and your account.
From this page you can see information about each of your email lists. Account information is displayed on the right hand-side and includes useful info such as how many emails you have left. A copy of your affiliate link code can be found here too.
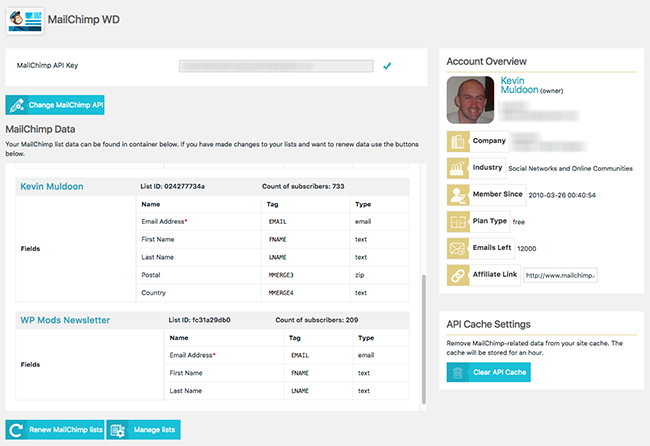
The lists page displays all of your email lists. The current total number of subscribers for each list is displayed with the date the list was created.

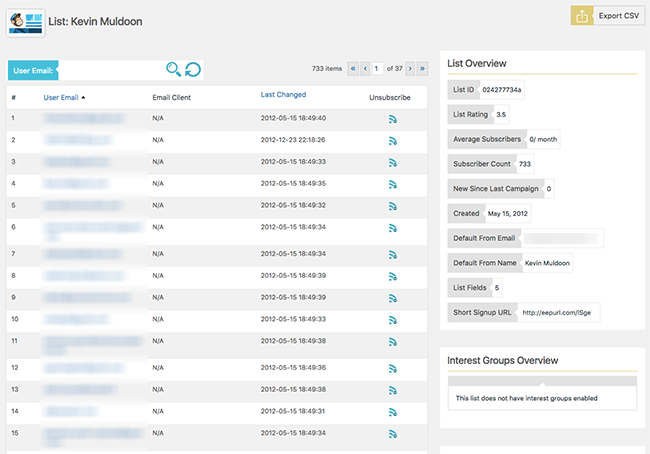
When you click on one of your email lists you can see a detailed breakdown of the list. All subscribers are listed down the left hand-side. You can search for subscribers and if you click on a particular subscriber you will be taken to a page that displays all their information.
The list overview box on the right hand-side displays things such as the list ID, average subscribers per month, list fields, and short signup URL.
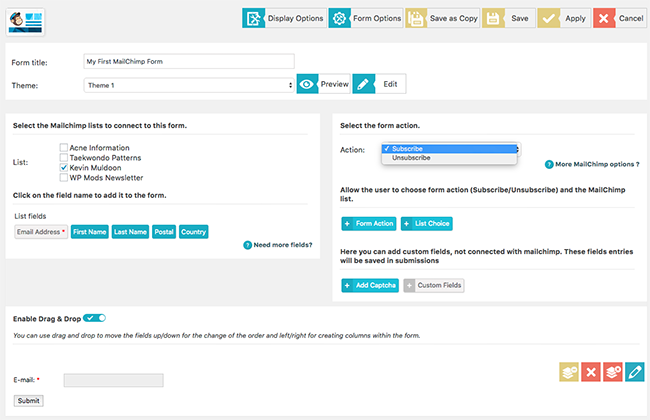
Forms are the main focus of the MailChimp Forms WD plugin. There are a lot of great features here, but you will find many of the options in this area are only available in the pro version of MailChimp Forms WD.
With the free version you can choose to inherit the design from your website or select one theme that is provided. Nine additional form themes are provided when you upgrade to MailChimp Forms WD Pro.
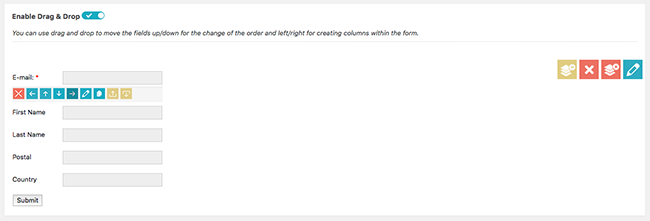
On this page you can select what lists the form connects to, whether the form subscribes or unsubscribes the user, and create your form using drag and drop elements. At the top of the page are buttons for display options, form options, undoing changes, saving the form, applying changes, and cancelling changes.
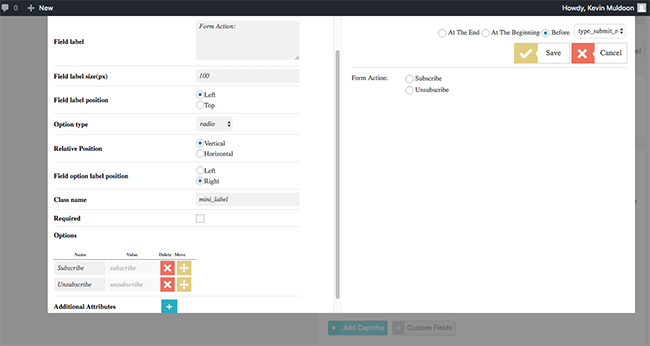
When you click on certain buttons, such as form action, list choice, and add captcha, a menu will slide down with a number of corresponding options.
I found this design setup a little strange. The dropdown menu looks a little less professional and does not fit in with the rest of the plugin. It would make more sense if these fields were simply displayed on the main form page instead.
At the bottom of the form page you can select the fields that are displayed in your form using a drag and drop interface. Additional fields are made available here if you add them to your account in MailChimp.
The default way of adding your form to your website is to embed the form into a WordPress post or page using a shortcode. You could also integrate your form into a widget area of your website by using a plugin such as Widget Shortcode.
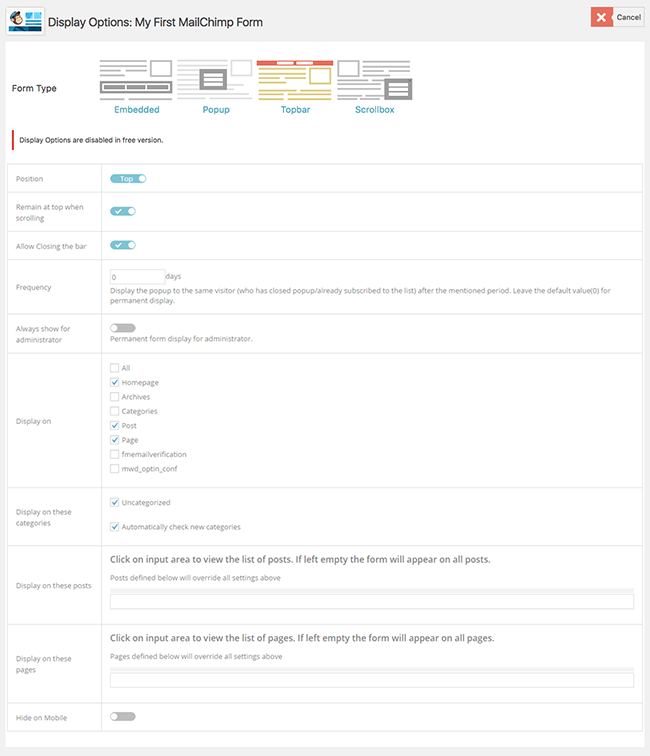
Three additional options are made available if you upgrade to the premium version of the plugin: Popup, Topbar, and Scrollbox.
Each of the premium display options comes with a range of configuration and design options.
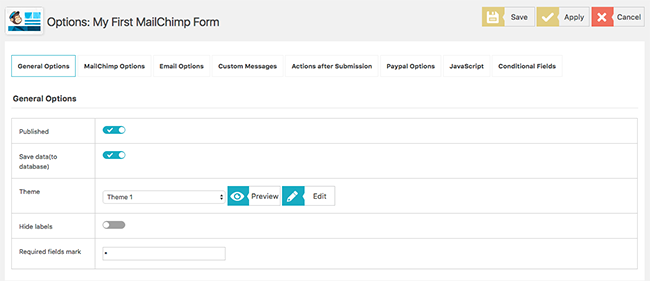
The form options button takes you to an options area with eight tabs.
You can change a wide number of options here including whether data is saved to your database, whether your form is double opt-in, and the content of the email that is sent to subscribers and unsubscribers.
The email options and PayPal option tabs are only accessible if you upgrade to the pro version of MailChimp Forms WD.
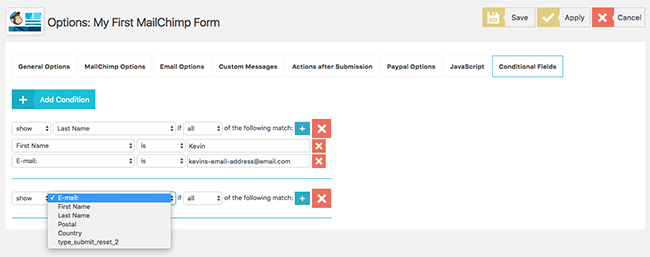
Conditional fields are handy for changing what fields are displayed in your form. You can show or hide particular fields based on the content of other fields.
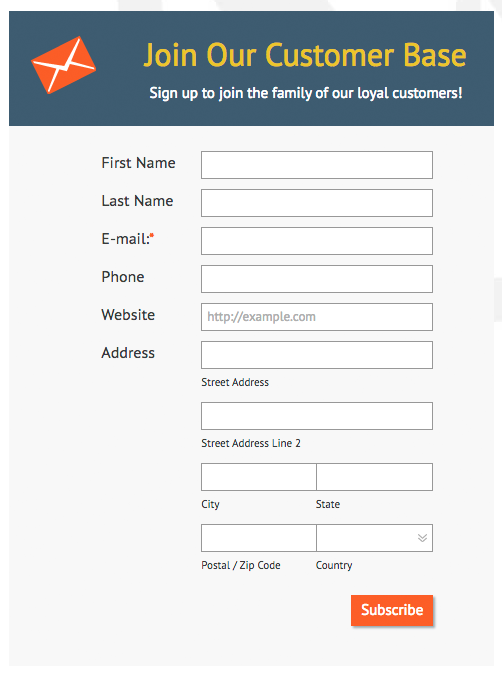
The demo page of MailChimp Forms WD highlights what can be achieved using the plugin.
The first form shown is a client list form that requests essential information such as name, phone number, and address.
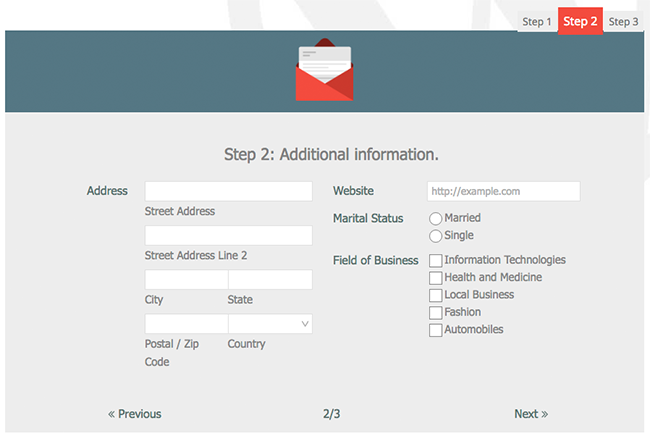
Long forms can be divided into different tabs. Pro users can also integrate a purchase button into their forms.
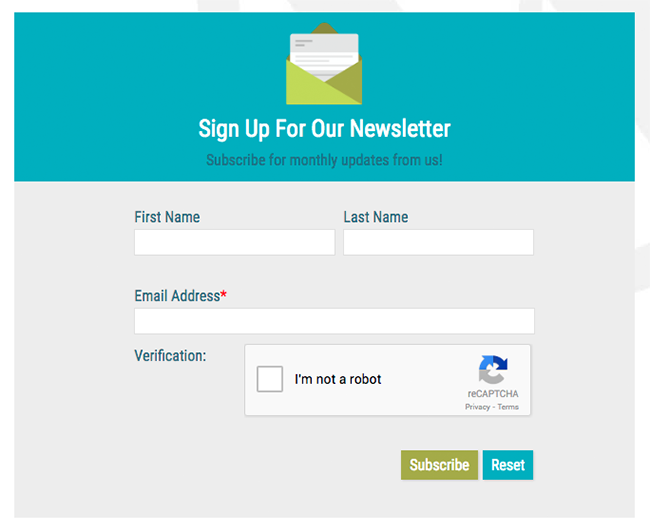
Google’s anti-spam reCAPTCHA service can be integrated into forms to prevent spam.
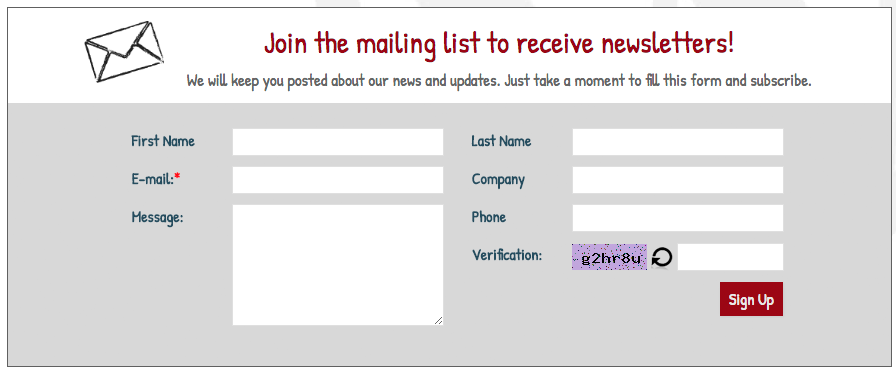
If you prefer, you can request users enter a simple CAPTCHA field.
Examples of the additional form display options available to pro users can be seen on the demo page too.
With pop up forms you can set the time delay before a pop up appears, the frequency in which they appear, and the areas of your website in which they are loaded.

The topbar form can remain fixed at the top of the page while the user scrolls down the page. You can give them an option to close the form too.
Like pop up forms, you can specify which areas of your website the topbar form is displayed.

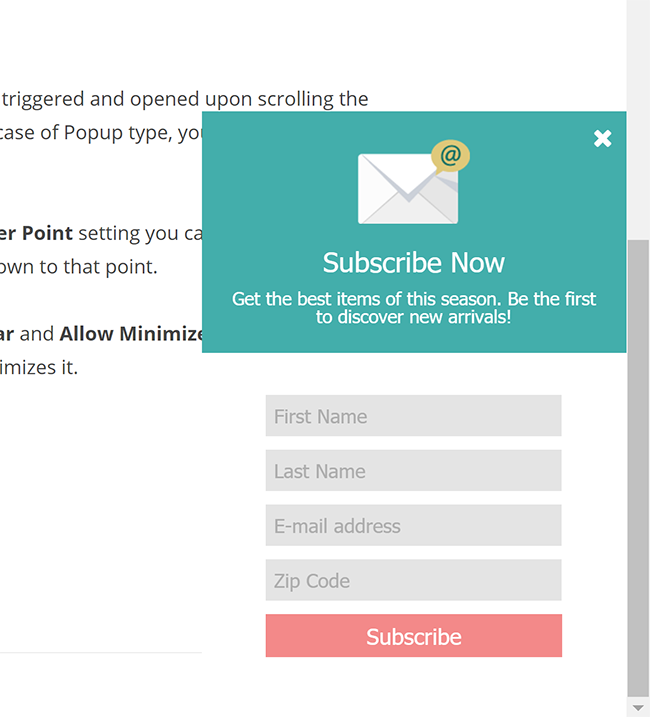
A scrollbox form displays your form in a box as the user starts scrolling down the page. It can be aligned to the left or right and you select whether the box can be closed or minimised. You can also specify the point of your page the scrollbox form will appear.
Again, you can select which area of your website the form appears.
The dedicated submissions page shows you the entries that have been submitted to your forms, the conversion rate, and the views. Data can be exported from this page in CSV or XML format.
Entries can be deleted too and you can block and unblock the IP addresses of form submitters.
Theme Customisation and Additional Options
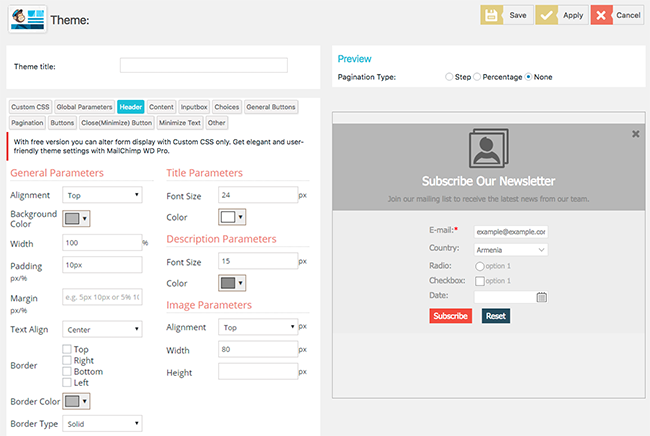
In the free version of MailChimp Forms WD you can customise the look of your forms using custom CSS. Pro users get so much more control over how their forms look.
In addition to adding custom CSS, there are options for global parameters, header, content, inputbox, choices, general buttons, pagination, buttons, minimise button, minimise text, and more.
All of the options are controlled via a user-friendly interface. Elements of the design can be changed by clicking on a drop down menu, colours can be changed using a colour box, and widths, heights, and borders can be defined by entering the number of pixels.
In other words, the pro version of MailChimp Forms WD gives you an easy way of changing every aspect of your form designs.
In the global options page you can configure your reCAPTCHA public key and private key.
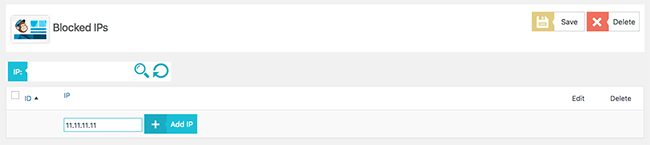
Blocked IPs can be viewed on a dedicated page too. You can use these to view all of the existing blocked IPs, delete entries, and add new ones.
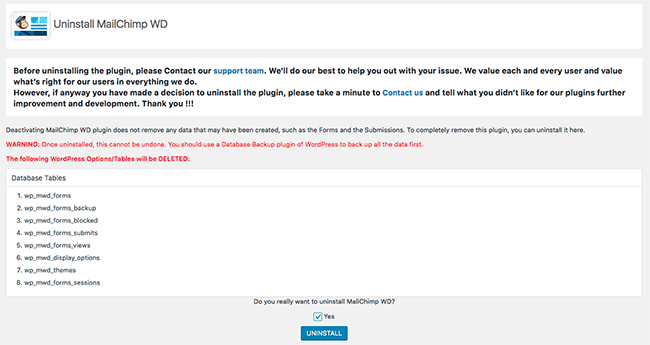
One of the things I love about Web Dorado products is that they feature a built-in uninstall option. This allows you to remove all of the tables the plugin added to your website database when you installed it.
In contrast, most WordPress plugins leave behind a trail of data behind in your database even after your have deactivated and deleted them.
Pricing
MailChimp Forms WD is free to download, however there are two good reasons to upgrade to the premium version of the plugin.
The first reason is support. The second reason is gaining access to the many additional features that MailChimp Forms WD Pro offers.
Pro users get access to ten form themes instead of one, four display options instead of one, custom fields, a customisable header, custom emails, and PayPal integration which allows you accept payments.
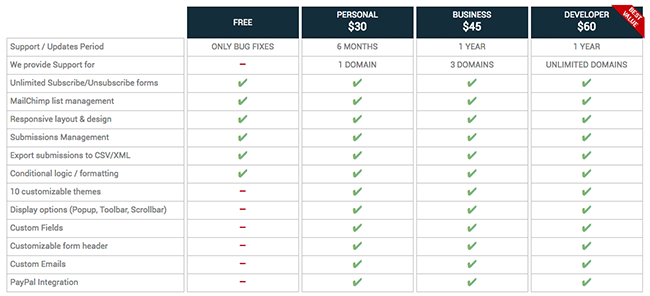
All licenses for MailChimp Forms WD Pro grant access to the additional features. The difference between the plans is how much support you need.
The personal license retails at $30 and grants you six months of support for one domain. Upgrading to the business license at $45 grants you support up to one year for up to three domains.
The developer license costs $60 and grants one year of support for an unlimited number of domains.
Regardless of whether you upgrade to the premium version or not, all users can view the MailChimp Forms WD step by step guide to get a better understanding of how to use the plugin.
Final Thoughts
If you use MailChimp to send emails to subscribers, I recommend checking out MailChimp Forms WD. It’s a great way of integrating MailChimp forms directly into your website. The plugin lets you check all of your list information too which means that you can manage your email list directly from your WordPress admin area.
You can download the WordPress plugin from WordPress.org. You can also find out more about the plugin on the official sales page of MailChimp Forms WD.
Thanks for reading.
Kevin