
Many people choose an Apple computer because of its reliability, but like any computer, Apple Macs can experience boot problems that prevent them from loading up. There are a number of reasons why Apple’s operating system macOS may not load correctly. This includes file corruption, incomplete software updates, hard drive failure, power supply issues and other hardware issues.
Hardware issues can be a little harder to diagnose and resolve, though they are thankfully less common. Most boot problems are caused by system files being corrupted so all you have to do is repair or restore your operating system using a macOS boot drive.
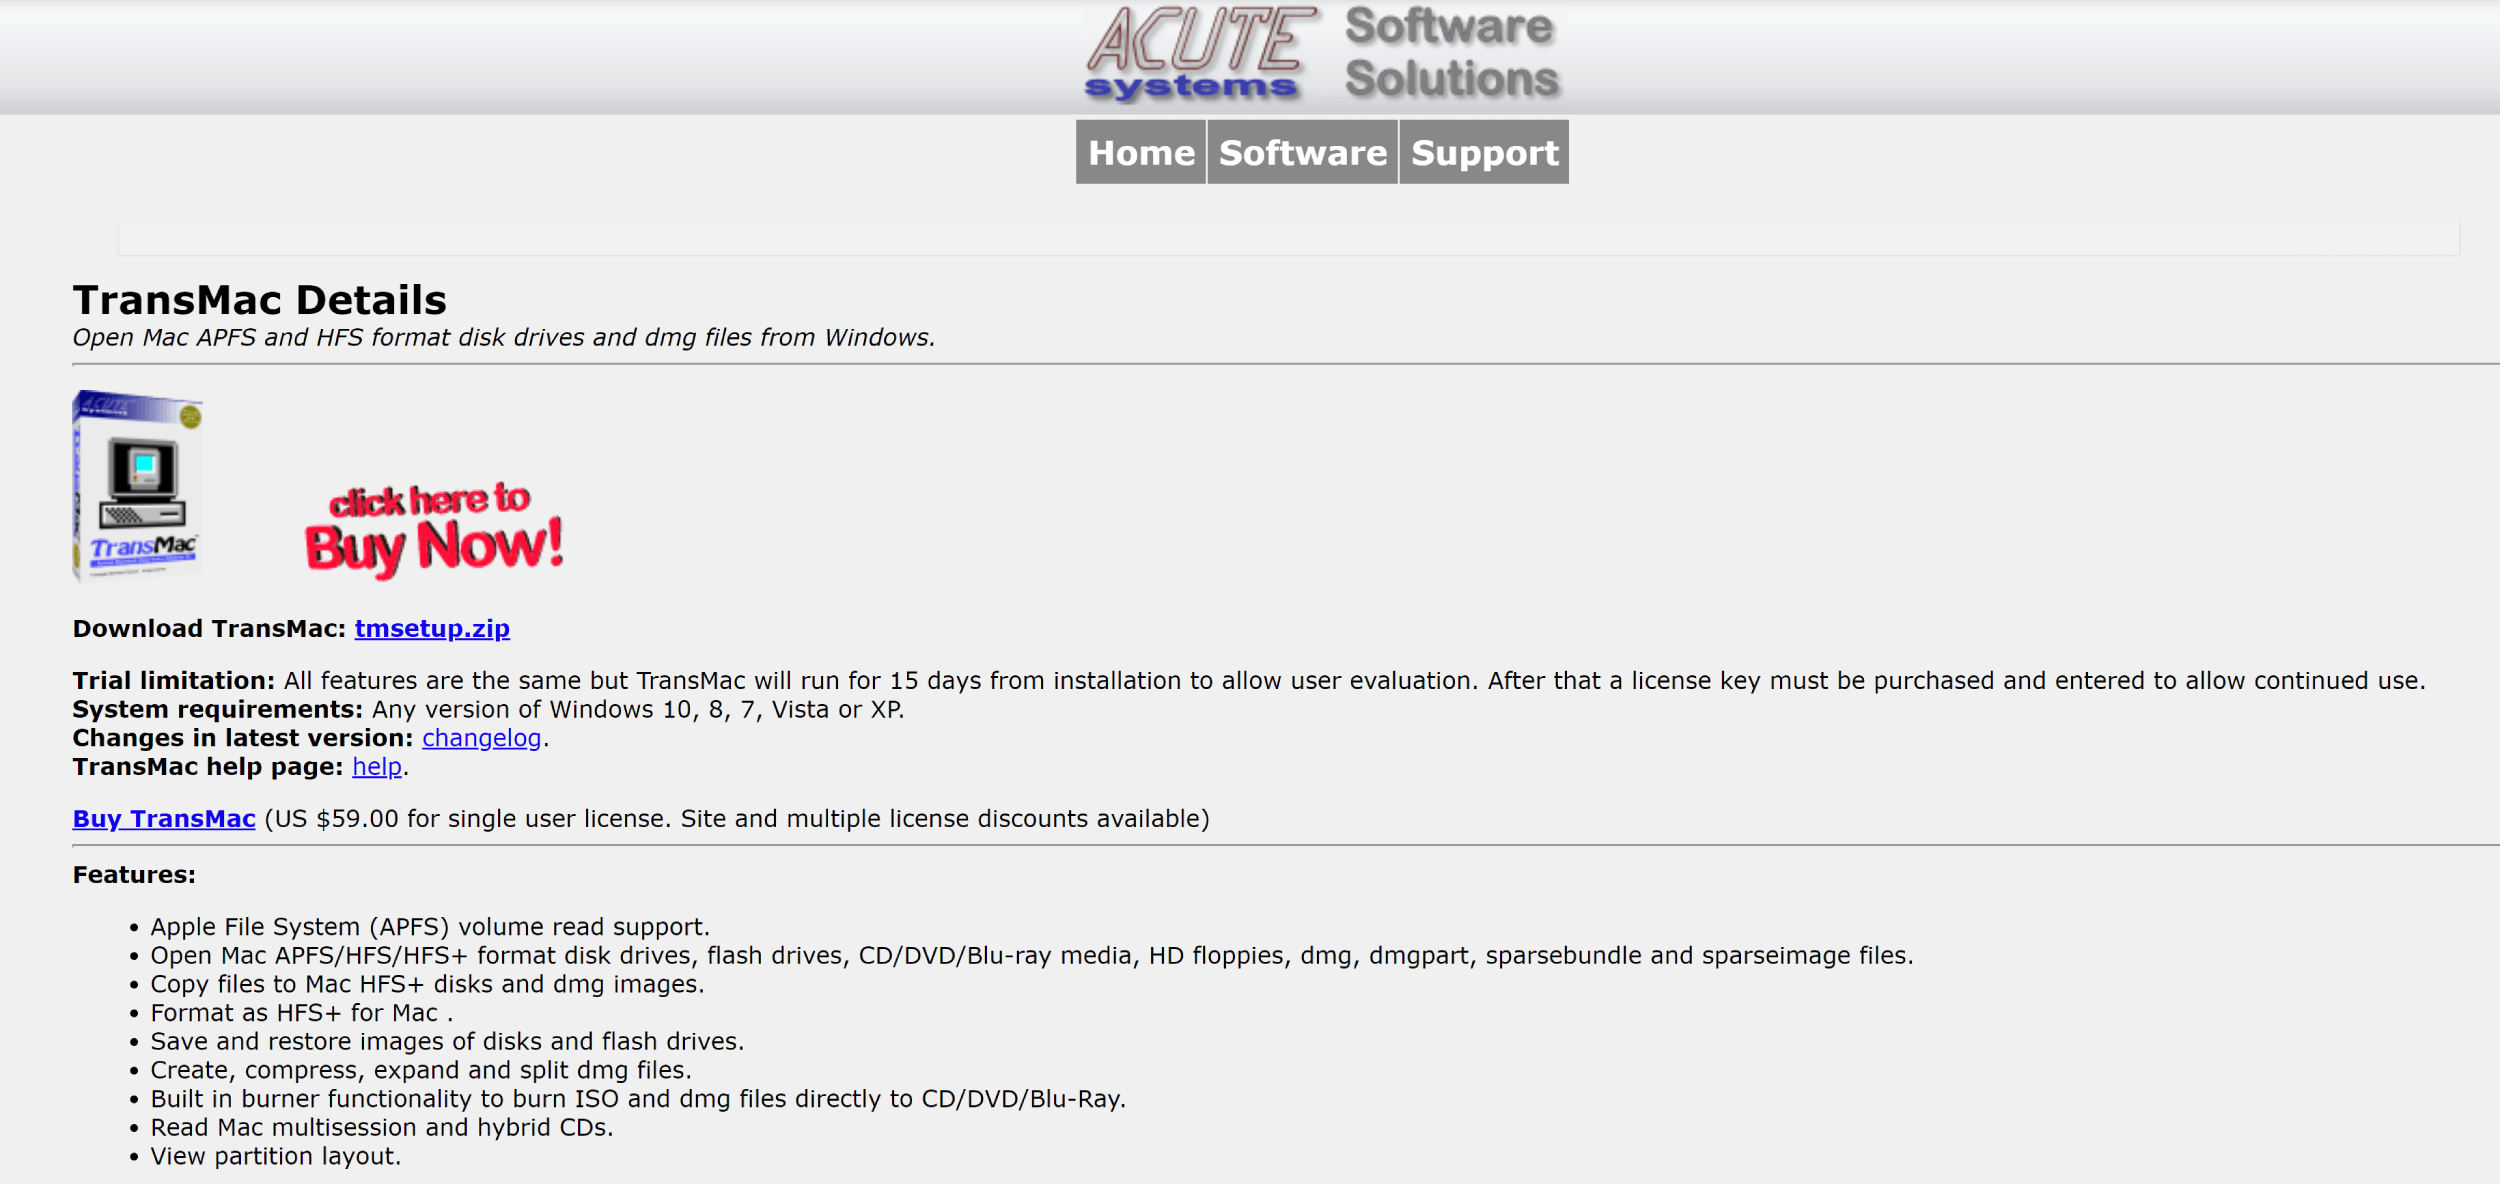
In this article, I will show you how you can create a macOS boot drive in Windows using an application called TransMac. This is useful if you don’t have a macOS boot drive or don’t have access to another Apple Mac computer.

What You Need to Create a macOS Boot Drive
In order to create a macOS boot drive using Windows, you will need three things:
- A USB flash drive with at least 16GB of storage
- A copy of TransMac
- The latest version of macOS
TransMac retails at $59 USD, however, the software is free to download and use for 15 days. You only need to upgrade once the 15 evaluation period has expired.
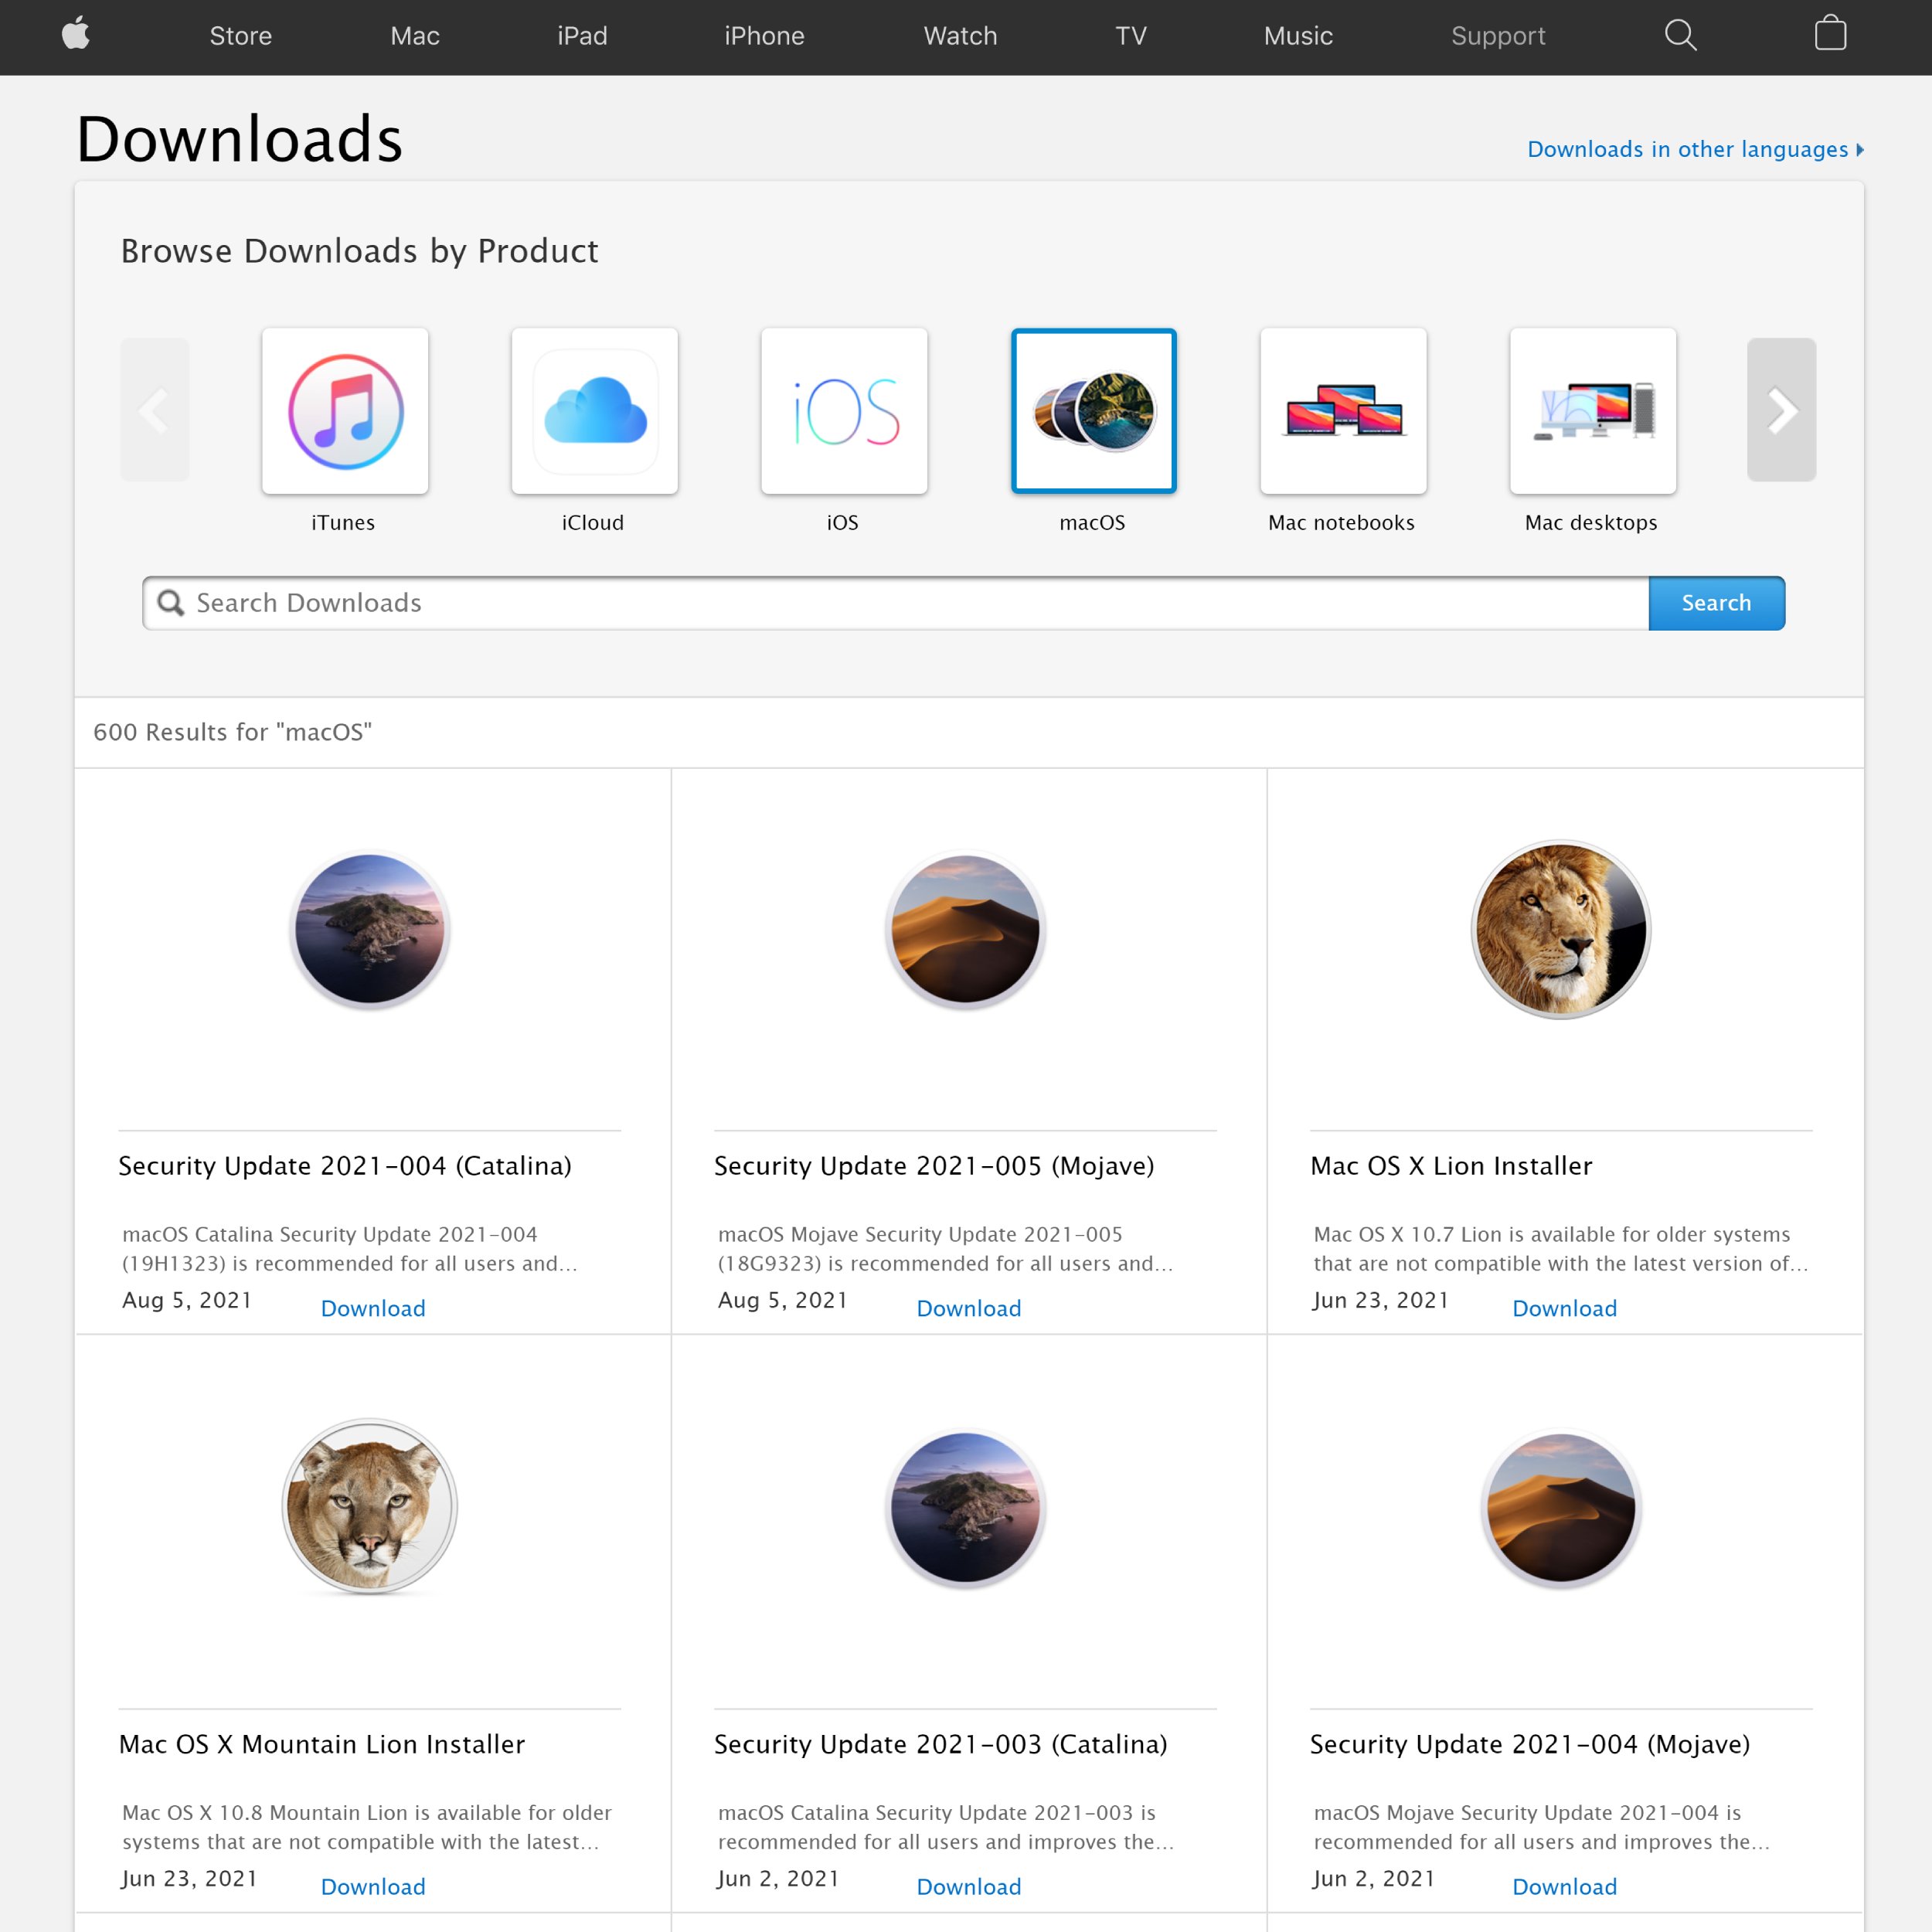
The Apple Downloads page has DMG files for Mac OS X Lion, macOS Mojave and macOS Catalina. Be sure to download the version of macOS that is compatible with the Apple Mac you are trying to fix.
Once you have downloaded TransMac and the macOS DMG file, you can prepare your USB flash drive.
Creating a GPT Partition On Your USB Flash Drive
The first thing you need to do is create a GPT partition on your USB flash drive. GPT is also known as the GUID Partition Table.
To do this, you need to connect your USB flash drive to your computer and load Command Prompt. This can be done by entering CMD or Command Prompt in the Windows search bar at the bottom right-hand side of Windows. Be sure to select Run as Administrator when launching Command Prompt.
Once Command Prompt has loaded, enter this command:
diskpartThis command loads the command-line disk partitioning utility Diskpart. This allows you to locate your USB flash drive using the list disk command.
list diskAt this point, Diskpart will show all drives. This allows you to see which disk corresponds to your USB flash drive.
In the command below, X refers to your USB flash drive. For example, select disk 3.
select disk XUsing the clean command, you can now delete all files on your USB flash drive.
cleanNext, you need to convert the flash drive from MBR to GPT. You can do this using the command convert GPT.
convert GPTFinally, you can create a new partition using the command create partition primary.
create partition primaryYour USB flash drive is now ready to be used with TransMac.
How to Create a macOS Boot Drive In Windows Using TransMac
Let’s create your macOS boot drive.
With your USB flash drive still connected to your Windows computer:
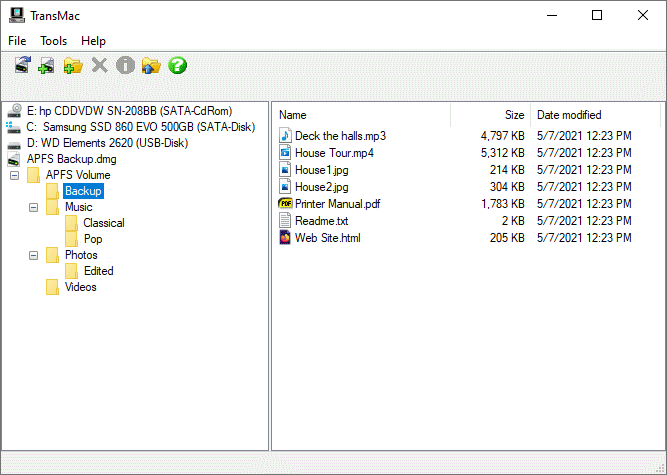
- Load up TransMac and run the application as an administrator
- On the left-panel, select your USB flash drive and right-click the drive. Then select Restore with Disk Image.
- You will then be asked which disk image to restore. Select the DMG you downloaded earlier from the Apple Downloads page.
- Wait until the DMG file has been fully flashed to your USB drive. This process can take a few hours.
Congratulations. You have now created your macOS boot drive. It can now be safely ejected from your Windows computer.
Please check out the video below to see all of these steps in action.
Booting Up Your Mac Using Your macOS USB Boot Drive
Now that you have created your macOS boot drive, you can insert the USB flash drive into the computer you were having problems with.
To boot up your Apple Mac computer, you either need to hold your computer’s power button down until the startup screens load or you need to power on your computer and then hold the Option (Alt) ⌥ key. Which method you use depends on whether your Apple Mac uses an Apple CPU or an Intel CPU.
As per the instructions on “How to create a bootable installer for macOS“:
Apple Silicon
- Plug the bootable installer into a Mac that is connected to the internet and compatible with the version of macOS you’re installing.
- Turn on your Mac and continue to hold the power button until you see the startup options window, which shows your bootable volumes.
- Select the volume containing the bootable installer, then click Continue.
- When the macOS installer opens, follow the onscreen instructions.
Intel Processor
- Plug the bootable installer into a Mac that is connected to the internet and compatible with the version of macOS you’re installing.
- Press and hold the Option (Alt) ⌥ key immediately after turning on or restarting your Mac.
- Release the Option key when you see a dark screen showing your bootable volumes.
- Select the volume containing the bootable installer. Then click the up arrow or press Return.
- If you can’t start up from the bootable installer, make sure that the External Boot setting in Startup Security Utility is set to allow booting from external media.
- Choose your language, if prompted.
- Select Install macOS (or Install OS X) from the Utilities window, then click Continue and follow the onscreen instructions.
If you’re not sure which type of CPU your Apple mac uses, simply try loading up by holding the power button in. If that doesn’t work, you can load up by powering up and holding the option key.
Final Thoughts
As you can see, creating a macOS boot drive in Windows is straightforward. All you have to do is prepare your USB flash drive correctly using Diskpart and then flash the macOS DMG file to your drive using Transmac.
If you run into any problems, go back to the start and run through all steps again. This will ensure that no part of the process has gone wrong. Be sure to watch my detailed YouTube tutorial about creating a macOS boot drive using Windows too.
Good luck.
Kevin