Earlier this year I closed my newsletter and started using the Jetpack Subscriptions module instead to deliver email updates to subscribers.
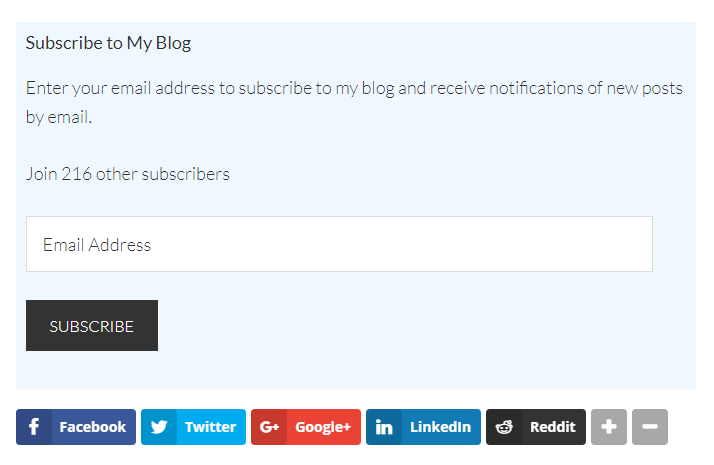
In my quest to increase suscribers, I took the advice of Colm from Create & Code and added a subscription form underneath my blog posts and pages.
In this short tutorial I will show you how I implemented this on my website. I will be using the Jetpack subscription form in this example, however you can use any email newsletter form you wish.
Adding a Subscription Box Underneath Your Content Area
I could have added the Jetpack subscription to my website in a number of ways. For example, I could have taken advantage of the Genesis hook system or created a function to add the form.
I chose the easiest route. I simply added a widget zone underneath my content area.
New widget zones can be added to WordPress themes by registering them in your theme functions.php file, but to keep things simple I installed the plugin Add Widget After Content.
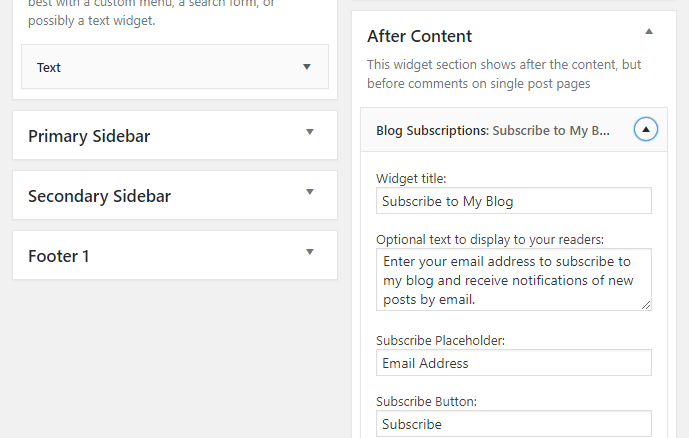
All I had to do then was drag and drop the Jetpack subscription widget into the newly created widget zone. If you are using another newsletter solution, there should be a widget that you can drag and drop into the widget zone.
If no newsletter widget exists, enter the HTML code for your form into a text widget and drop it into the widget zone.
The settings area for Add Widget After Content lets you disable the widget area for certain post types or post formats.
Widget priority can be changed too. Lowering the priority of the widget will display your subscription form underneath other widgets being displayed below your content area e.g. below your social media sharing buttons.
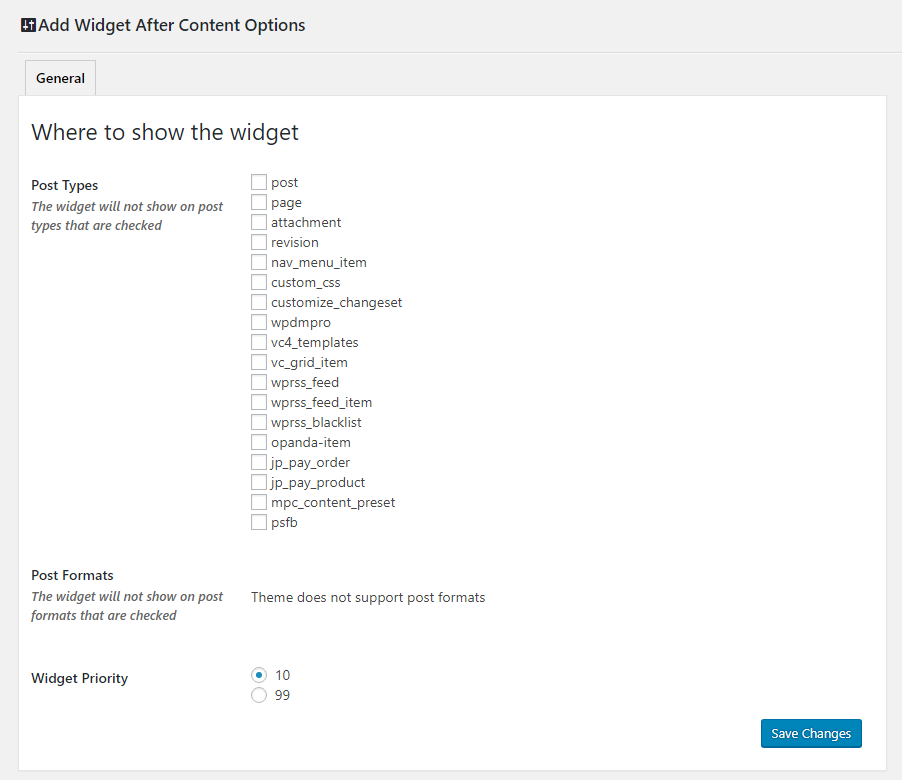
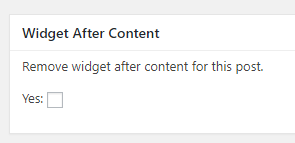
You will also see an option underneath all post types to disable the widget zone for that specific page on your website.
There are WordPress plugins available such as Widget CSS Classes that allow you to style your widgets.
All I did to style my form was add a little styling to the header of my website.
To do this simply view the source of a page on your website which has your subscription form displayed. Find the CSS class for the widget and then add styling for that class.
The class should be called “awac”.
Below is the code I used on my website :
.awac-wrapper {
 background-color: #f0f8ff;
 padding:10px;
 border:1px;
 }
CSS allows you to style the widget zone in many wonderful ways. You could use different fonts, display images, add unique borders, and more.
Final Thoughts
I hope you have found this short tutorial useful.
You can add a subscription form underneath your articles in a number of ways, but I found Add Widget After Content to be a simple and effective solution that took less than a minute to implement.
The area underneath your content is prime real estate for a subscription form as it is where your readers eyes are after they have finished reading. You should therefore see high sign up rates here.
Whilst this tutorial shows you how you can add a newsletter underneath your content area, you can of course add any type of content into your widget zone.
Good luck.
Kevin
.awac-wrapper {
background-color: #f0f8ff;
padding:10px;
border:1px;
}
how do i change the above css to white pls, i dont like color it has. See https://schoolboi.com/ u will see what i mean