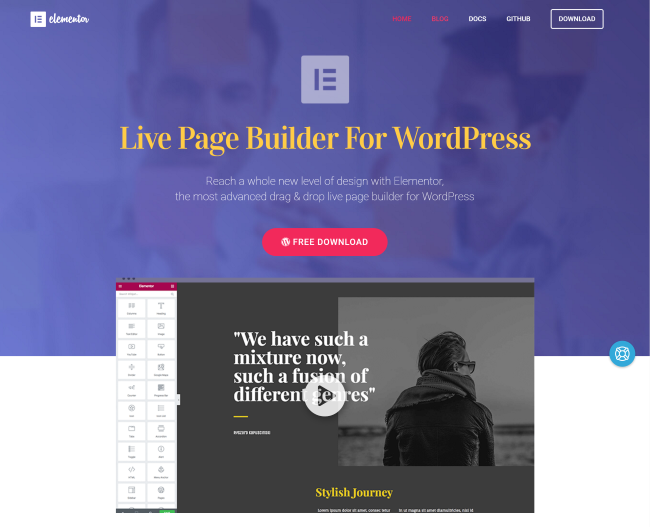
Elementor is an open source drag and drop page builder for WordPress. It’s stylish, it’s easy to use, it offers many content elements, and it’s free to download.
Those are all ingredients of a successful WordPress plugin.
Launched in June 2016, the developers of Elementor have managed to rack up over ten thousand active users in under three months. That is an unbelievable feat; particularly when you consider that the plugin entered a competitive market with many other drag and drop page builders in it.
One of the most common questions about Elementor is why the plugin is available free of charge. In their FAQ section the developers address this and explain that Elementor will always be free, however they also note that they are actively developing a pro version of the plugin that offers more features.
This is a smart move. The developers are establishing a loyal user base by offering a feature packed plugin free of charge which they can then promote an enhanced version to at a later date. As I write this, there is no date as yet about the pro version of Elementor though the developers have stressed that the pricing will be competitive.
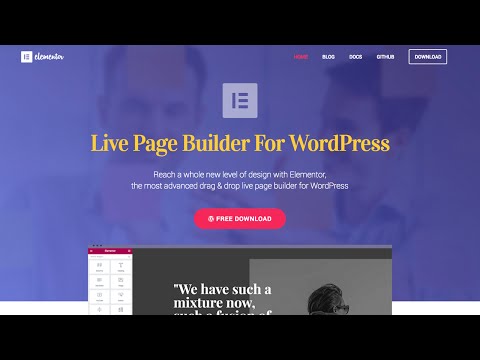
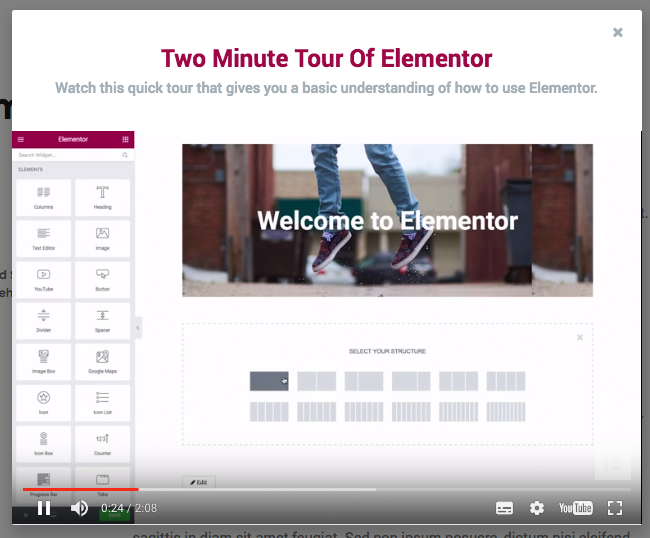
If you want to see Elementor in action, please view my video review below.
Keep reading on if you want to read more about what the Elementor visual page builder has to offer.
The Elementor User-Interface
Elementor is a front-end page builder. You can access the page builder in a similar way to other page building solutions.
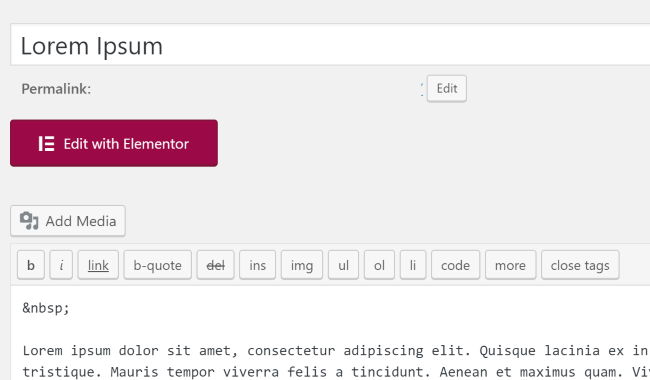
One option is to access the post type you want to modify via your admin area and select the “Edit with Elementor” button displayed in the WordPress post editor.
Alternatively, you can visit the page you want to edit on your website when logged in and use the link displayed in the WordPress toolbar.

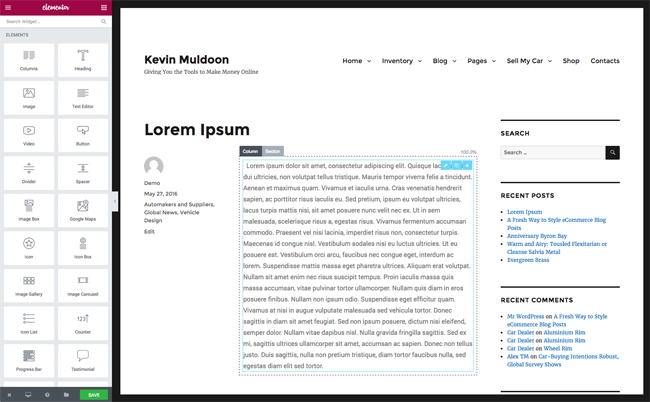
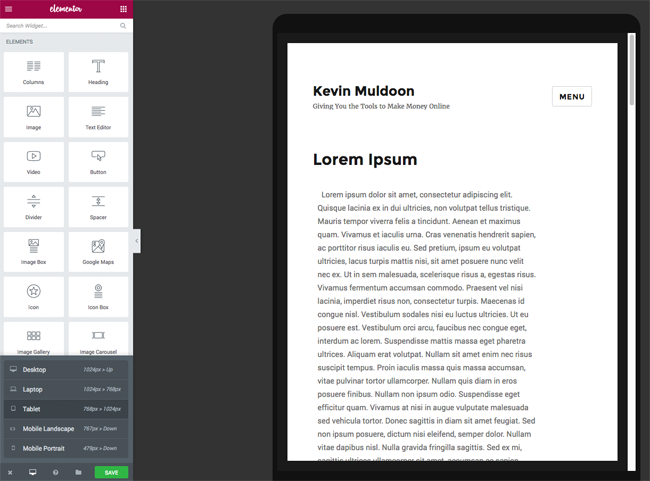
Unless you are brand new to the world of WordPress, I am sure you will have experience with using a visual drag and drop page builder. Most page builders work in the same way. You have a menu system and then you have a canvas area in which you can can drag and drop content into.
It should not take you more than a few minutes to familiarise yourself with the Elementor user-interface. Like the WordPress theme customizer, the user-interface is displayed on the left-hand side of the page with your website being displayed on the right.
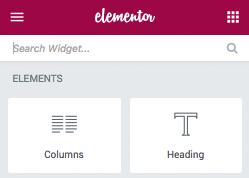
Developers call the content boxes different things. The most common names are modules, elements, and widgets. Elementor uses the term elements and widgets. I found it strange that they use both terms.
At the top of the user-interface, for example, they have a search box that asks you to search for widgets (there’s actually a typo that says “Search Widget”). Underneath there is a header for elements.
Obviously, this is not a major issue, but hopefully they will stick to one term in future versions of the plugin to avoid confusion.
The interface is pretty straight-forward. The menu is on the left and the canvas is on the right.
What I really like about the menu system is that you can hide the menu at any time by clicking on the arrow button at the end of the menu. You can then pull it back at any time. It’s a nice little touch that allows you to see your page in full without the menu.
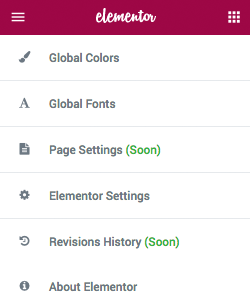
When you click on the three lines symbol at the top-left of the menu you will see another menu loaded that displays several items.
The page settings and revisions history links are not active while the about link opens up the Elementor home page in a new browser tab. The three active options are global colors, global fonts, and Elementor settings.
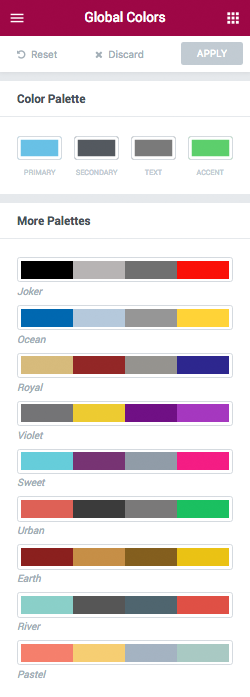
The global colors menu lets you change your current color palette. Primary, secondary, text, and accent colors, can all be changed. When you change your palette you should see text and other colors change in the preview area (i.e. the canvas area). Changes can be applied, discarded, or reset, at any time.
There are several palettes to choose from.
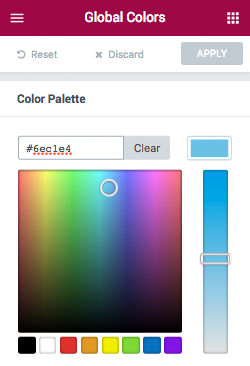
I initially thought that you could not define your own colors. I was wrong. When you click on one of the four boxes in the color pallete area at the top a color box appears that lets you define the exact color you want.
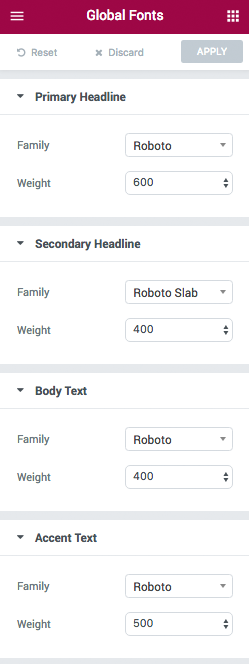
You can modify the fonts for each area too. The font family and weight can be specified.
The Elementor settings link takes you to the settings page in the WordPress admin area. I am not too sure whether this should be linked directly within the user-interface since clicking on the link takes you away from the page you are editing. At the very least they should ensure the settings page is loaded up in a new tab.
If the developers do want to link to settings within the main user-interface, a better solution would be to integrate the global Elementor settings into the Elementor menu in the same way that global colors and global fonts are.
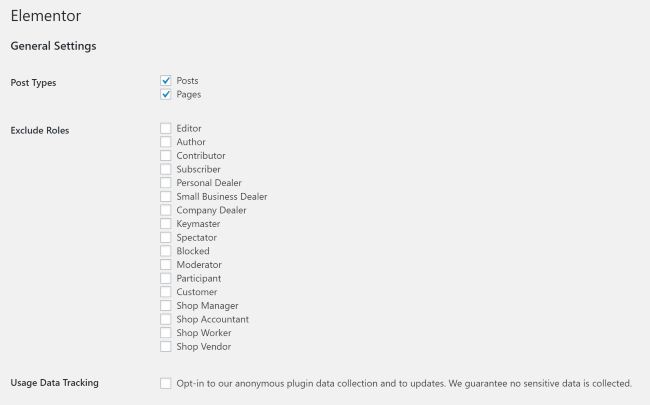
In the settings page you can specify which post types are allowed to use Elementor. The screenshot below shows WordPress posts and pages. Additional post types such as galleries will be available if it has been added by your WordPress theme or by an active WordPress plugin.
There is an option to exclude certain user roles from Elementor and an option to opt into data tracking.
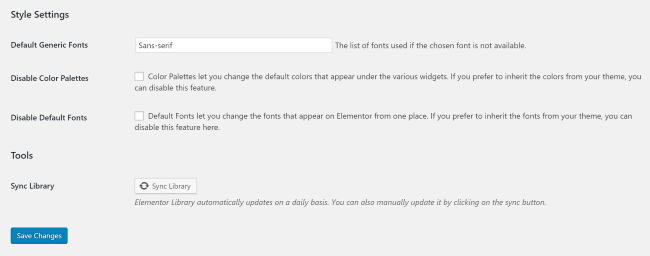
In the style settings area displayed underneath there is a field for defining the default generic font. There are also options for disabling the color paletters and default fonts and syncing the Elementor library.
The heart of the Elementor menu displays the available content elements and WordPress widgets. If you have loaded the other sub-menu you can display the elements section again by entering either of the symbols at the top of the menu.
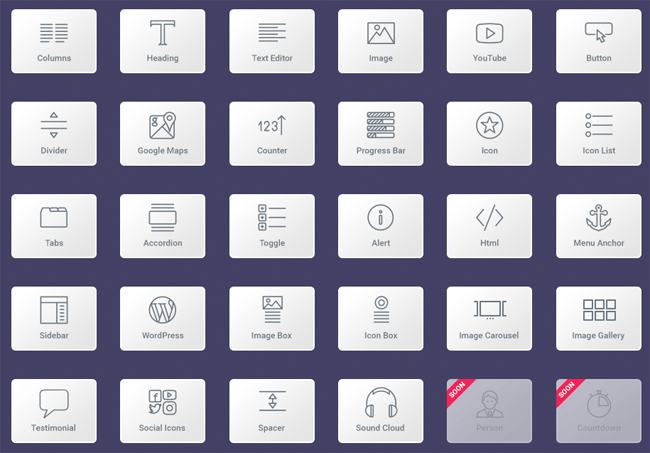
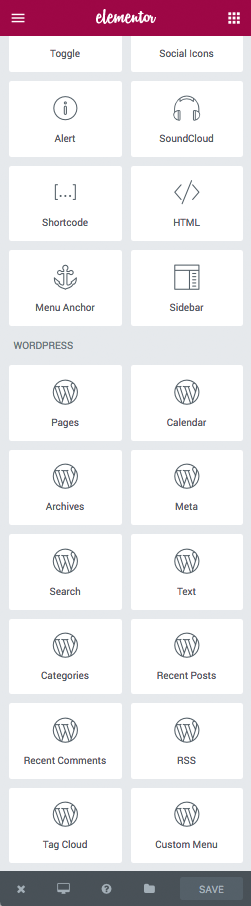
In the current version of Elementor (0.74) there are a total of twenty-eight content elements available. Elements include video, button, map, image gallery, tabs, SoundCloud, and sidebar.
All twelve default WordPress widgets are also available. Third party widgets are supported too. This means that if you install one of the thousands of widget plugins available for WordPress you can use them in Elementor.
A small menu is displayed in the footer of the Elementor menu.
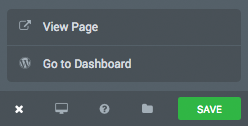
The exit link can take you to one of two locations. You can either view the page in full or you can return to the editor page for the page you are editing.
The developers have included a useful responsiveness checker. It allows you to check how your page looks in within four devices: Desktop, laptop, tablet, and mobile (landscape and portrait).
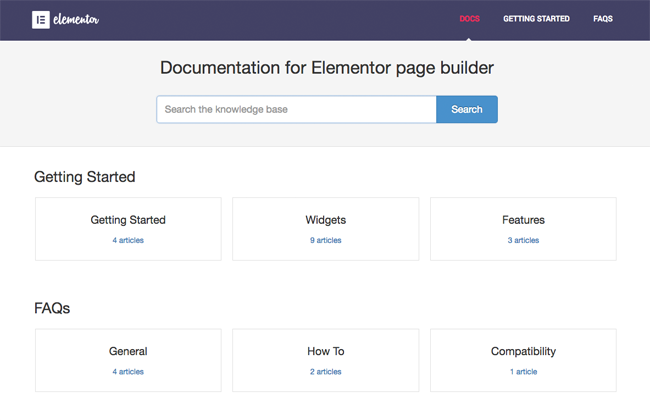
The question mark symbol loads up two support options. One is to take a tour and the other takes you to documentation.
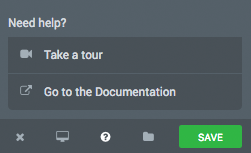
The video tour loads up a short two minute video that helps give you a basic understanding of how the plugin works.
The documentation area is divided into getting started tutorials and frequently asked questions. Many of the guides feature short videos to help show you exactly how a feature works.
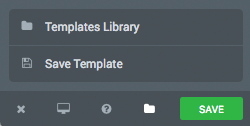
Two option are available via the templates link: Templates library and save template.
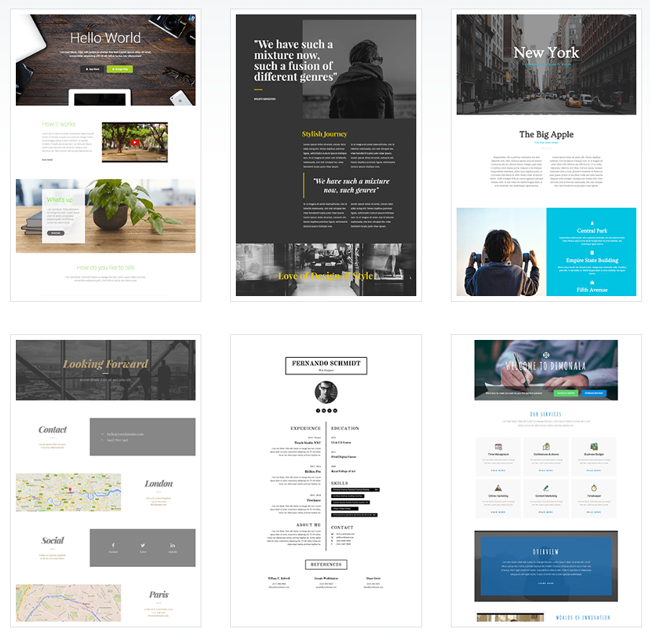
Twenty templates are available in the current version of Elementor and more will be added in the future. You will find a good variety of templates including the home page for a restaurant and an agency, a CV page, multiple contact pages and landing pages, services pages, and product pages.
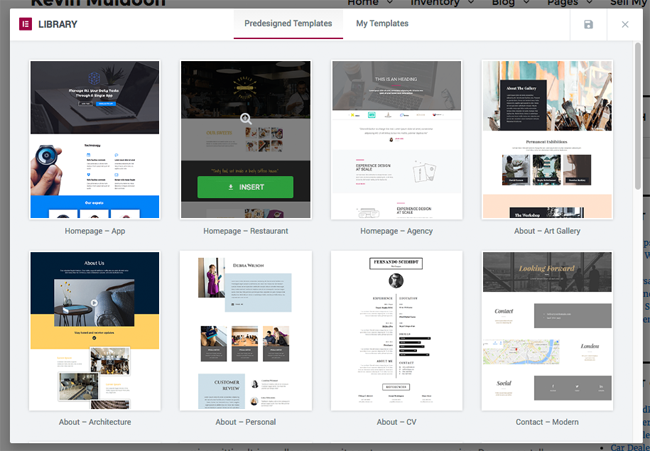
You can preview each template inside the template pop up box.
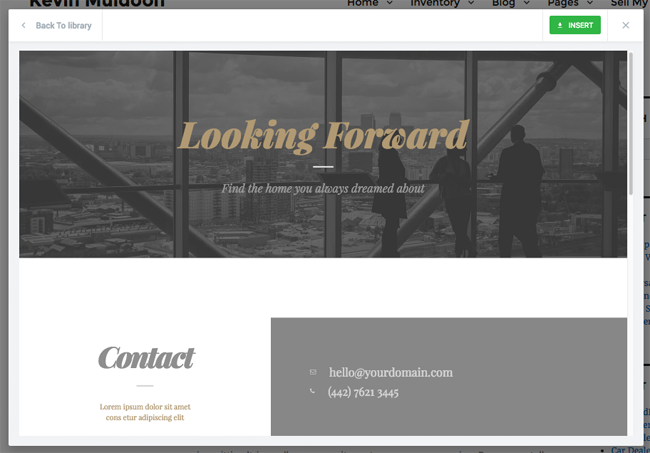
When you are ready you can insert the template onto your page. At the present time there is no option to replace the existing content with the template. Instead, the template is always appended to the end of the page.
Therefore, if you previously had content on that page you may have to delete it.
In practice, this can be very frustrating.
For example, if you select a template for your page and then decide against it and select another, the second template will be displayed after the first template. You therefore always have to delete any previous content on the page and any previous templates you inserted to the page.
The only way to get around this is to reload your page so that any changes you made to the page are not saved. It’s not really a perfect fix as if you had many any changes to global settings such as colors and fonts, they would be lost if you had not saved them before you added the template.
Although there is a preview option, the best way to view a template is to insert the template onto your page. So if you preview a few templates by inserting them into your page you will end up spending a lot of time either deleting sections or reloading the page.
Hopefully we will see an option to replace a page’s content with a template in the future.
One feature I do love is the option to save page layouts as templates. All you have to do is follow the “Save a Template” link in the footer menu.
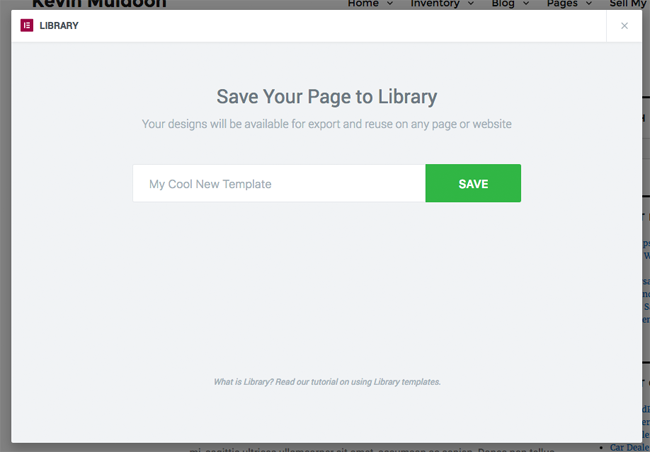
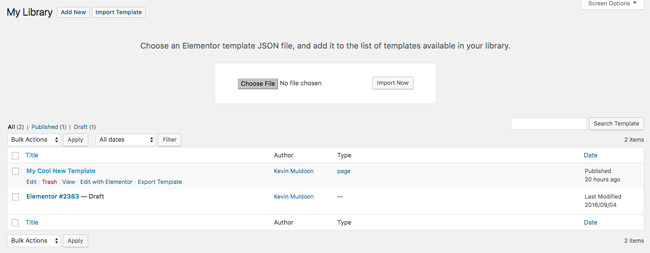
Any layouts you save as a template will be placed in the “My Templates” tab. For each template you can preview, delete, export, and insert the template. The post type of the template is also denoted.

Templates can also be seen in the template library. You will find this in the Elementor WordPress admin menu linked as “My Library”.
For each saved template you have an option to edit the template, delete it, and view it. Templates can also be exported as a JSON file and them imported. This is useful for creating backups of your templates and for copying templates from one website to another.
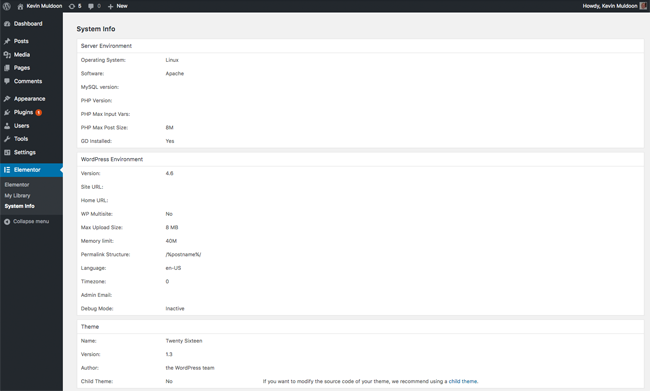
The Elementor admin menu only has three links. The first link is the Elementor settings page that is linked in the Elementor menu system. The second is the template library.
The last link provides system information about your server and Wordpress installation.
Let’s jump back to the Elementor interface.
The last link in the Elementor menu is the green save button that is displayed at the bottom of the menu.
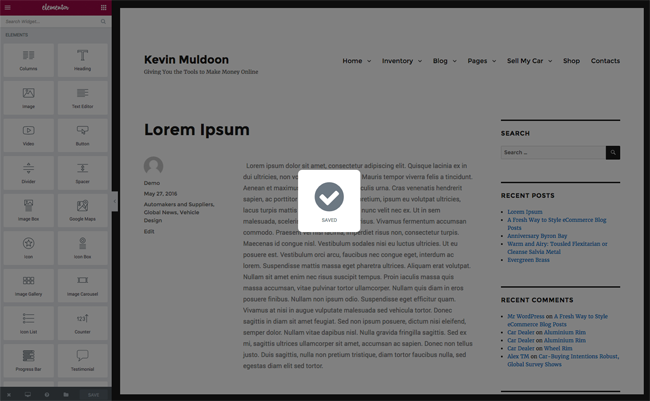
Clicking on that will save the changes you have made to the page using Elementor.
I found the Elementor menu to be very easy to navigate. It’s an intuitive system that works well.
Creating Content with Elements and WordPress Widgets
The canvas area is where you add content and modify the style of the page.
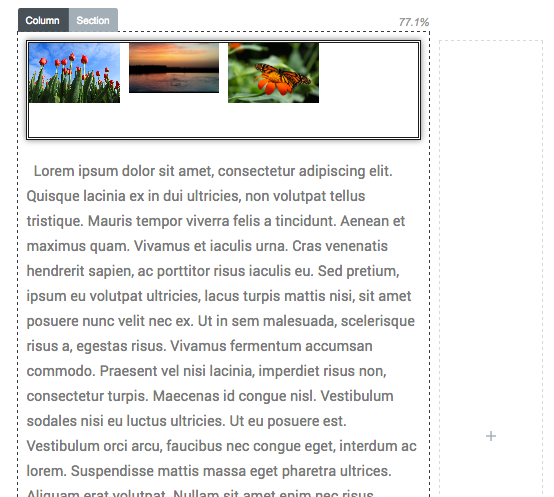
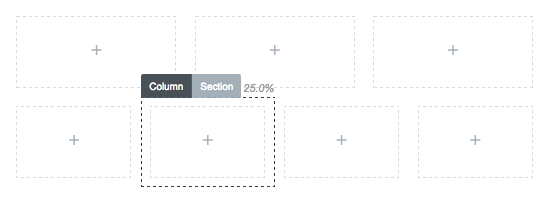
In the canvas area, content is placed into columns and columns are positioned inside rows. Elementor uses the term “Sections” instead of the more common term rows, though the term is self-explanatory.
Clicking on the section tab brings up options to duplicate the section, save the section to your library, and delete the section. In the column tab you can duplicate the column, add an addition column, and delete the column.
Elements are displayed inside thin light blue boxes. There are options to duplicate the element or delete it. Clicking on the element itself allows you to move it around to a different area of the canvas.
The canvas works in conjunction with the left-hand side menu. When you click on an element in the canvas area, its information and settings are displayed in the main menu.
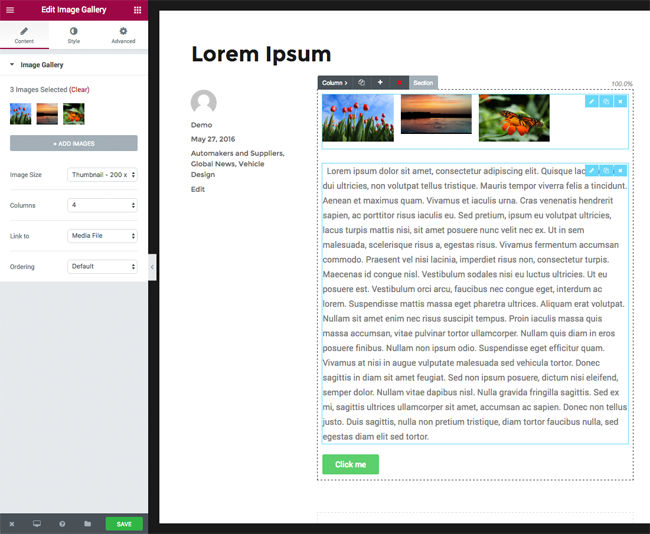
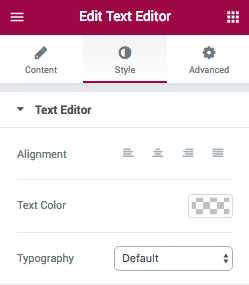
Each element displays three tabs in the menu: Content, style, and advanced.
The options displayed in the content tab is different for each element. For example, you can add images and set the number of columns with the image gallery tab. With the divider tab you can set design aspects such as the style, width, color, alignment etc (the divider element is one of the only elements without a style tab; it is not necessary since the style is already defined in the content tab).
In the style tab you can change the alignment, text color, and typography of the element.
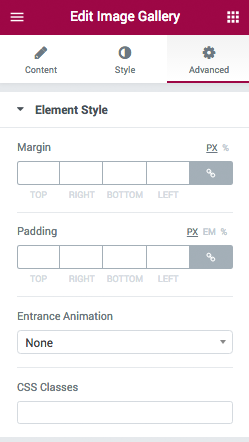
Styling is handled via the advanced tab.
In the element style section you can define the margin and padding of the element in pixels, em, or percentage. You can also apply one of dozens of animations to the element and style it using CSS classes.
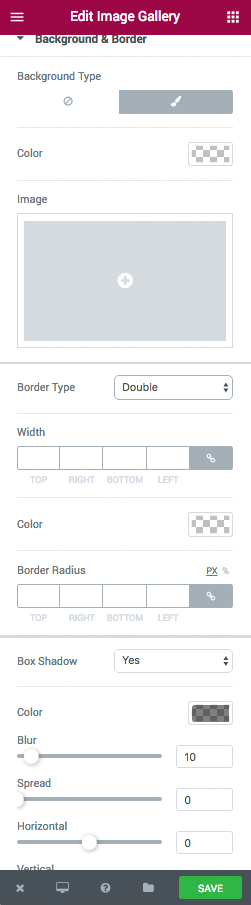
By default no background is set for an element, however if you want you can specify a background color and a background image. You can specify the border type, border radius, and box shadow too.
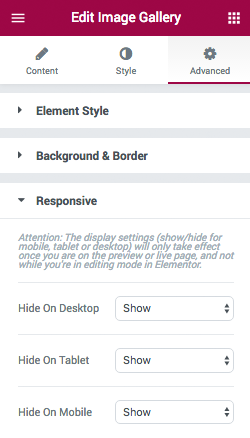
In the responsive section you can specify whether an element is responsive on desktops, tablets, and mobiles.
If you have two or more columns you can adjust the width of each column by simply clicking on the side of one of the columns and then adjusting it to the size you want. A percentage will be displayed at the top of each column to let you know the relative column width out of 100%.
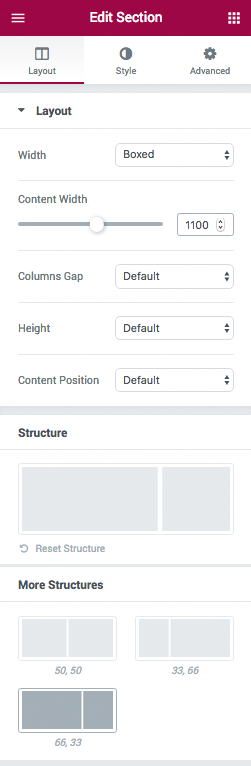
When you click on the section tab at the top of the section the “Edit Section” menu will open at the left-hand side of the page. Whereas elements use content as their first tab in the menu, sections instead use layout.
From here you can change the width between boxed and full width, adjust column width and columns gap, change the height of the section, and change its position on the page.
The structure area lets you change the column structure to common setups such as halves and thirds.
At the bottom of your canvas area you will see an option to add a section or add a template. Elements can also be dragged into this area.
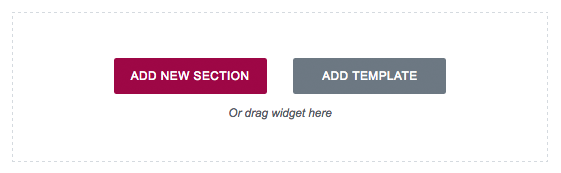
The “Add Template” button loads the template library.
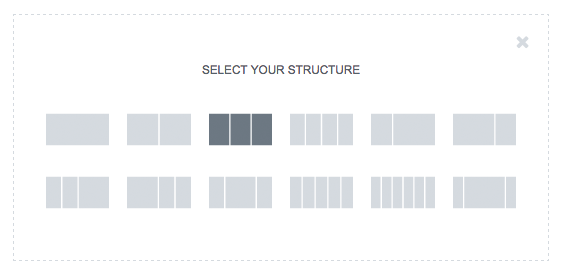
Clicking on the “Add Section” button loads up twelve column structures that you can select.
Once you have added a section structure, you can start dragging content elements into the columns.
It’s unbelievable how many features the developers have managed to pack into this drag and drop page builder and still not charge for it. Even if the plugin was not free to download, Elementor should rightfully be considered against other leading WordPress page builders.
Let us not forget, however, that Elementor has only been available for a few months. There are still a lot of little areas in which I think the plugin can be tweaked and improved.
I do not believe the plugin needs major changes. It just needs a little refinement.
I spoke about one issue earlier about adding an option for replacing layouts with templates instead of just appending them.
Another feature I would love to see is the addition of undo and redo buttons. At the present time, there is no functionality available to undo or redo any changes you make. Therefore, if you add something by mistake to your layout such as an additional column or element, you need to manually delete the steps you took.
I have no doubt we will see this feature in a future version of Elementor. Plugin improvements will come over time from user suggestions and complaints. It is unfair to criticise the developers for minor issues like this when competitors have had years to tweak their products. I have no doubt we will see Elementor become better and better over the next few years.
Final Thoughts
I hope I have given you a good overview of what Elementor can do and how you can use it to create beautiful website designs.
The plugin is fast, easy to use, and has a responsive design. It is also SEO ready, translation ready, supports custom CSS code, and has support for over four hundred icons and six hundred Google fonts.
Its support of third-party widgets means that you can add as much functionality as you want to the existing forty elements and widgets. This means that there is very little you cannot add to a page using Elementor.
Elementor is 100% free to download and use. I encourage you to give it a try and see for yourself what it can do.
You can download the plugin from the official Elementor website, from WordPress.org, or directly from your WordPress admin area by searching for the term Elementor.
What do you think of Elementor? Please share your thoughts in the comment area below.
Thanks for reading.
Kevin