Every week I face a different set of challenges when producing videos for my YouTube channels. There is always new things to research and test for reviews, however sometimes the technical side of recording uses up more time than you would like.
One of the problems I recently had to face was archiving my old YouTube videos. Video files use up a lot of storage so if you want to be able to go back and use older footage, you have to store the files somewhere.
My search for a solution led me to a Windows application called CloudMounter (It’s also available for Mac).
What Does CloudMounter Do?
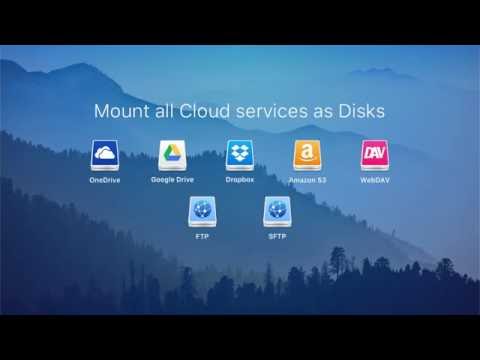
CloudMounter allows you to map cloud storage drives as local drives.
The application supports Dropbox, Google Drive, Microsoft OneDrive and Amazon S3. Although not currently advertised on their website, the cloud storage service Wasabi is supported too.
At this point you may be wondering why anyone would want to map a cloud storage account as a local drive.
For many people, CloudMounter will be useful as it will allow you to save space on your laptop or PC hard drive and access cloud storage files easier.
For me, what mapping does is address a limitation which most cloud storage services have.
Take Dropbox for example.
I have always found Dropbox to be the most efficient cloud service for syncing files from your computer to the cloud and vice-versa; however it is far from perfect. If you want folders on your computer to be perfectly synced to Dropbox, you need to also store them locally on your computer. This requires storage on your PC or laptop to store the files, which is not always desirable, particularly if you do not have much storage on your computer.
So what I do is sync a few key folders on my computer, such as website backup files. I access these files and folders regularly so it is important to me that the files are up to date both locally and on the cloud. I have several other folders of files on Dropbox that are not synced to my computer. For example, I have a folder for photographs from holidays. I want to retain these photographs, however I do not need direct access to them on a regular basis.
For the most part, this set up works; but it can be a pain when I do want to upload files and folders that are not selected as synced. What I need to do is either log on to the Dropbox website directly to upload files (which is slow) or I need to change the folders that are synced and then change them back later.
CloudMounter addresses this issue for me. It allows me to access my cloud storage and upload files from non-synced folders without having to go onto the website.
I use Google Drive and Microsoft OneDrive occasionally and use Amazon S3 for server backups, but its CloudMounter’s support for Dropbox that peaked my interest as I have been using the premium version of Dropbox for years and I am currently only using around 10% of my 1TB allocation.
In the short term, I don’t think Dropbox/CloudMounter is the right solution for me for archiving old YouTube videos. Hard drives seem a better option at this time given the pricing of cloud storage, but I love the idea of mapping Dropbox as a local drive; particularly as I have so much unusued storage to use on Dropbox.
Using CloudMounter
A personal license for CloudMonter retails at $29.99+VAT, but you can try it out for 14 days free of charge (as always, I recommend trialling software before handing over any money to make sure it does what you need).
When you have downloaded the application, you will be presented with the CloudMounter window. The user interface is simple to understand. It shows you a list of cloud storage services you can connect to and once you are connected, they are displayed at the left-hand side.
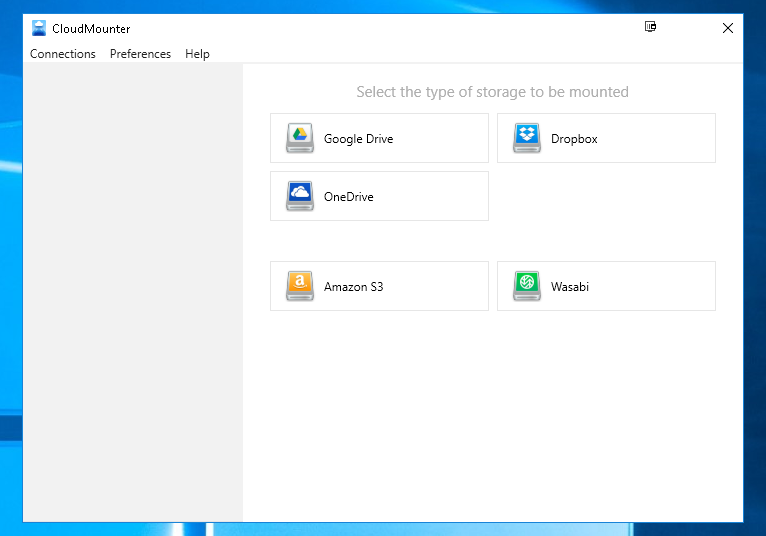
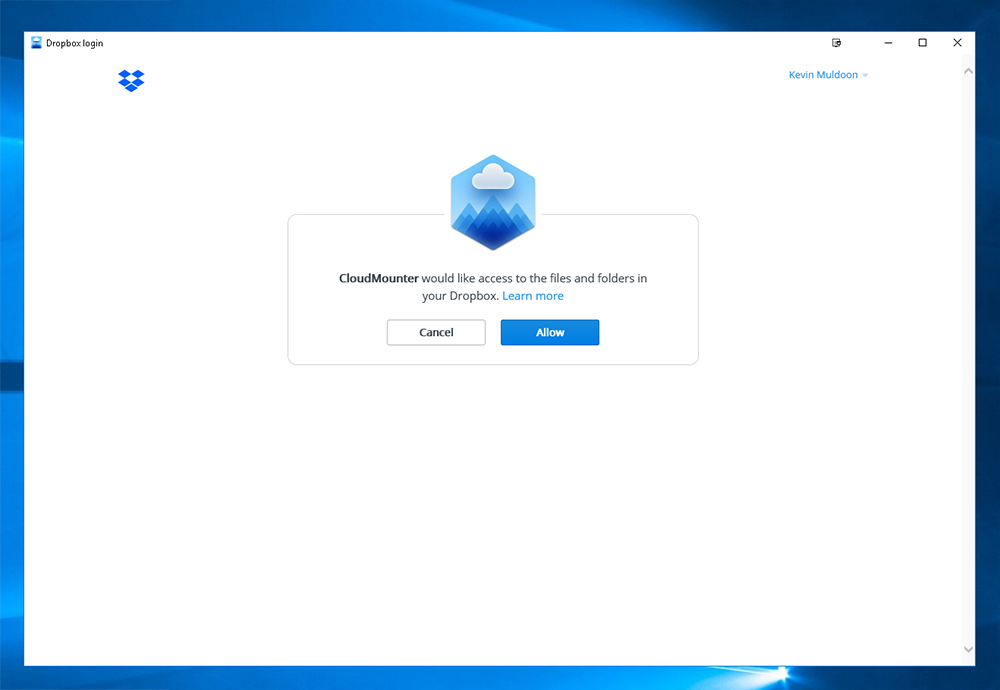
Once you have selected a cloud storage service, you need to allow access to your account.
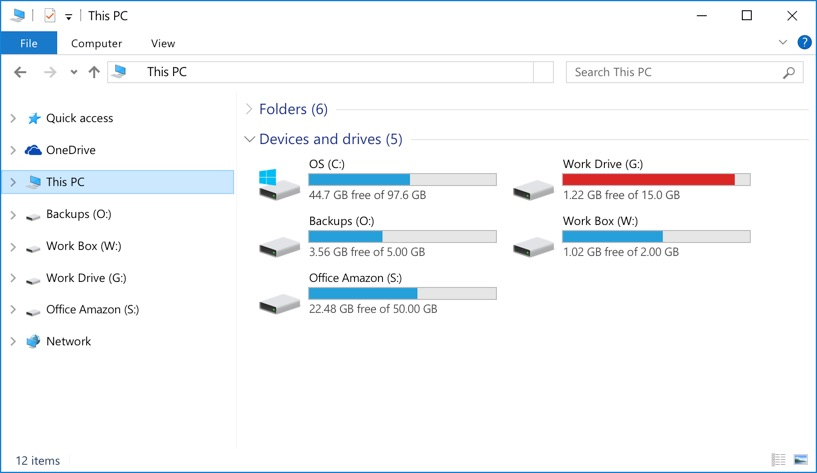
You can name drives whatever you want and select the drive letter for each account. You can change these later if you wish by simply unmounting the drive.
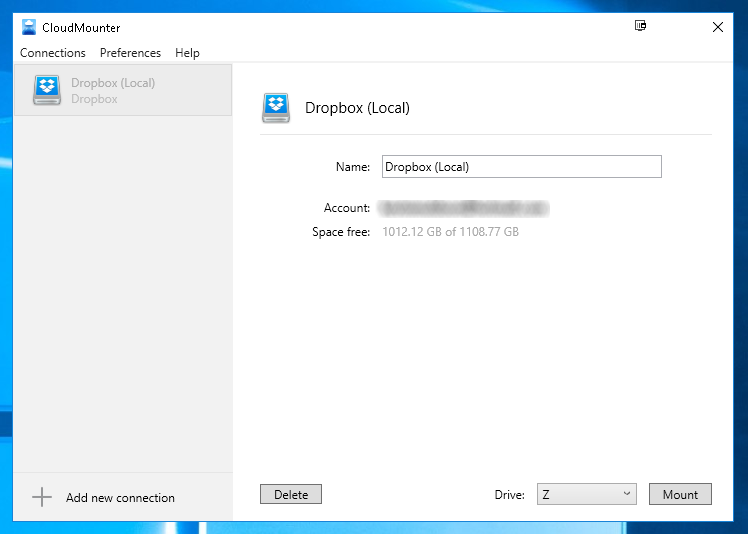
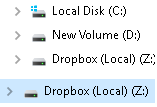
Once you have mounted an account, you can access it via explorer and browse your folders and files as if they were stored locally.
That is all there is to it. The whole process of connecting a drive takes seconds.
Final Thoughts
CloudMounter is a simple application in many ways and that is one of the reasons I love it. It adds functionality that cloud storage services do not currently offer and makes utilising cloud storage much more practical.
I recommend checking it out if you looking for a more efficient way to access your cloud storage accounts.
Kevin